Showing posts with label painted pieces. Show all posts
2.20.2014
2.04.2014
Making a picture frame...
Yesterday was cold and rainy. Our weather this winter has been much colder than normal, and temps are expected to drop back into the 30's, so the succulents had to be brought inside...
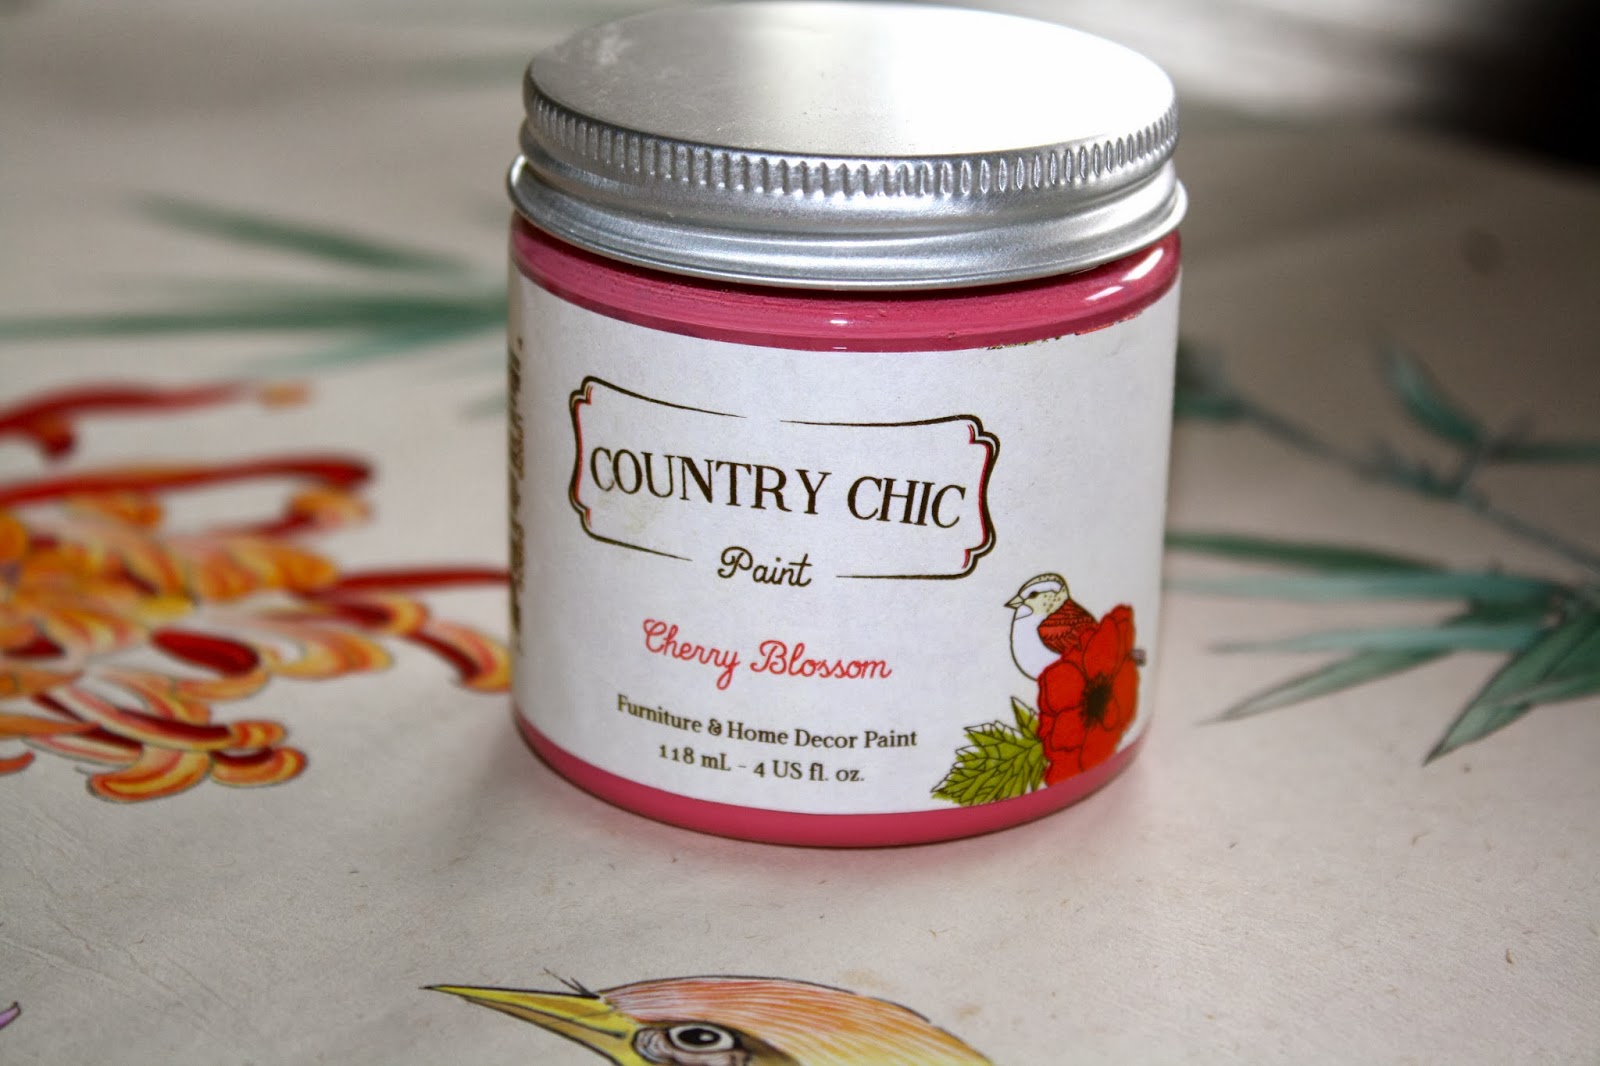
Since we were pretty much home all day and it was too cold to paint out in the workshop, we decided to build and paint a frame for a piece of art my dad had given me. He had the piece drawn by an artist on the street the last time he was in China. It is a lovely piece and the colours were perfect to use in Sara's "beachy lounge room". I didn't want the picture to look too formal, so I knew I would be giving it a super shabby treatment. I had been given a few samples of paint from Country Chic Paint, and I thought that a combination of Cherry Blossom and Cheesecake would look lovely on a frame...
Travis bought two pine 1 x 3 x 8 pieces, and two 1 x 2 x 8 pieces.
Then he glued and nailed the 1 x 2's to the 1 x 3's to add some thickness and an inset for the glass inside the frame:
Then he ran it through the saw on the flush side just to make sure they were smooth and even, and clean up the edge...
Next, he cut 45 degree angles for the lengths of each side. He uses a chop saw for this...
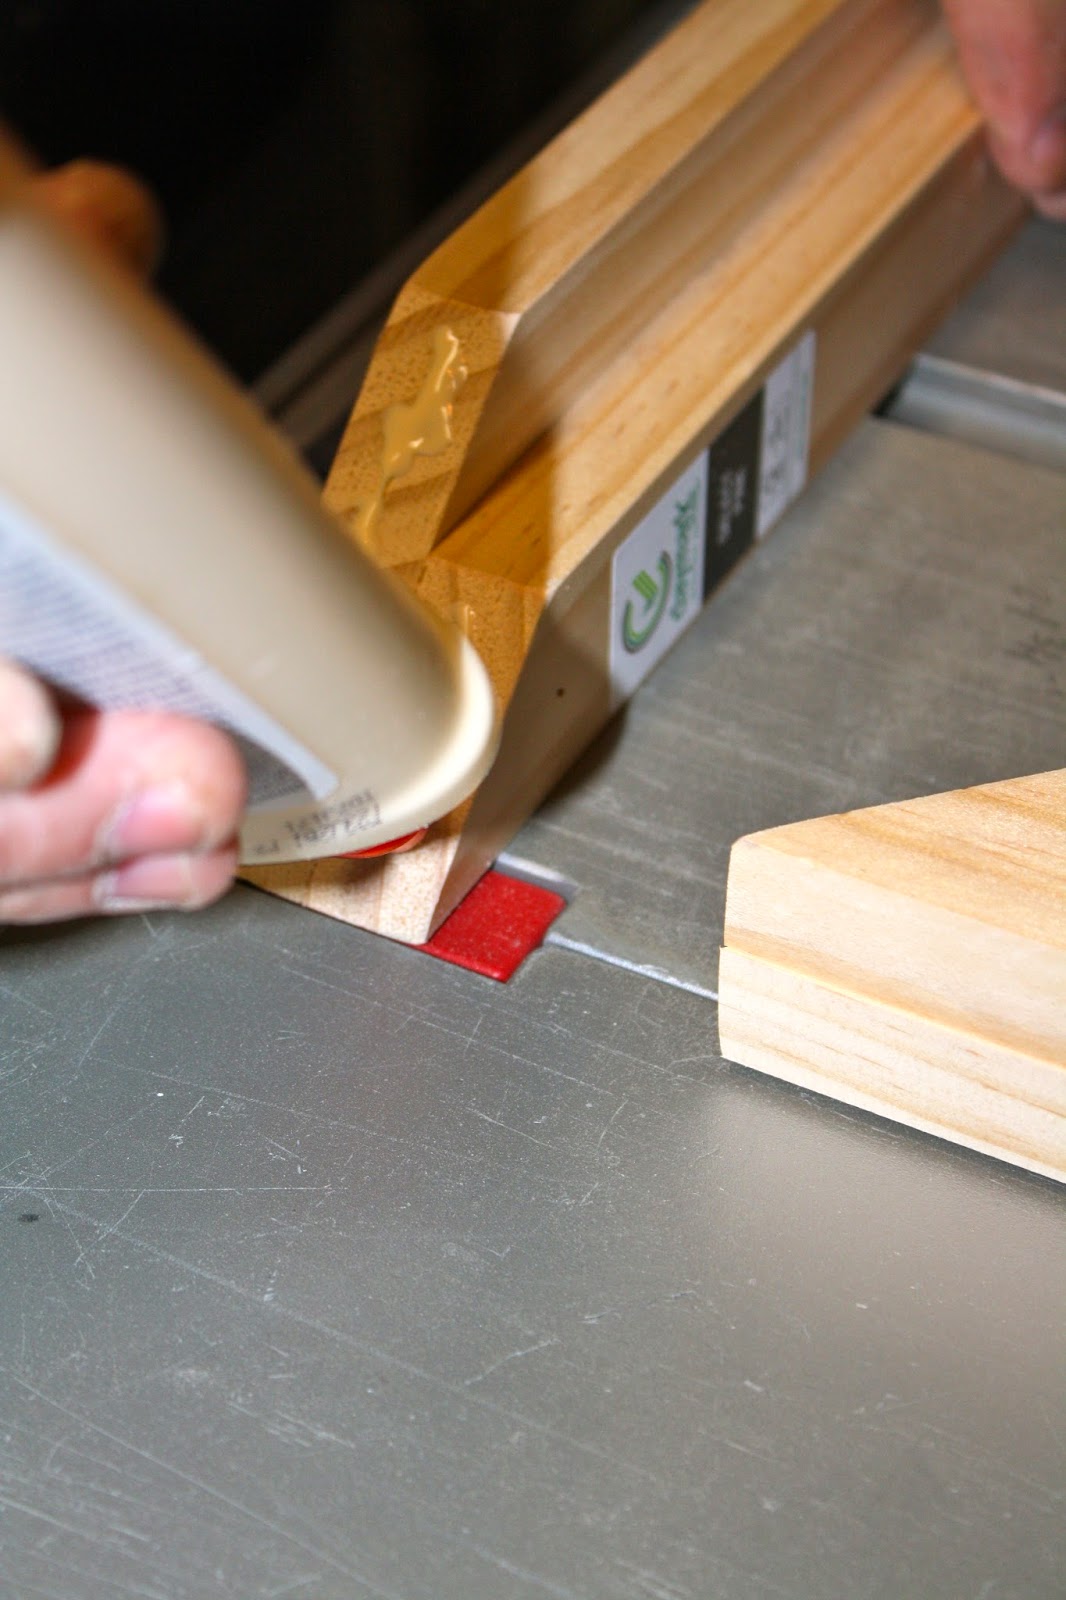
After the angles were cut, he glued the edges and nailed them together. He tells me the trick with glue is to apply it and then pat it down. This prevents the glue from running...
Pooky and sanding follows to finish the corners...
Now it's time to paint! I started off with a coat of Cherry Blossom as my base...
After the base coat dried, I took a candle and smeared some places on the frame where I wanted the next coat of paint to meet a resist, or not stick to the frame. You can use vaseline for this step as well.
Then I applied a second coat using Country Chic Paint in Cheesecake. You can see here where the paint looks a little grainy from the wax I used on the base coat.
Once that was dry it was time to hit it with the sander. I wanted a severely distressed look for this frame, so I used my hand sander with a 220 grit paper. I hit the corners a little harder which caused some spots to show through to the wood. That was fine since I knew I was going to be going back over it with a few waxes. You can see here where the paint resisted taking to the pink...
Then I used some of the Country Chic clear wax and gold wax to add a little sparkle to the frame. Once the wax was dry I gave it a good buffing with a soft cloth until it was butter smooth...
Travis and I added the glass, placed the paper on top and backed it with a piece of quarter inch plywood, and secured it with inch and a quarter finishing nails.
Every piece we create we always sign the back and give some info on it...
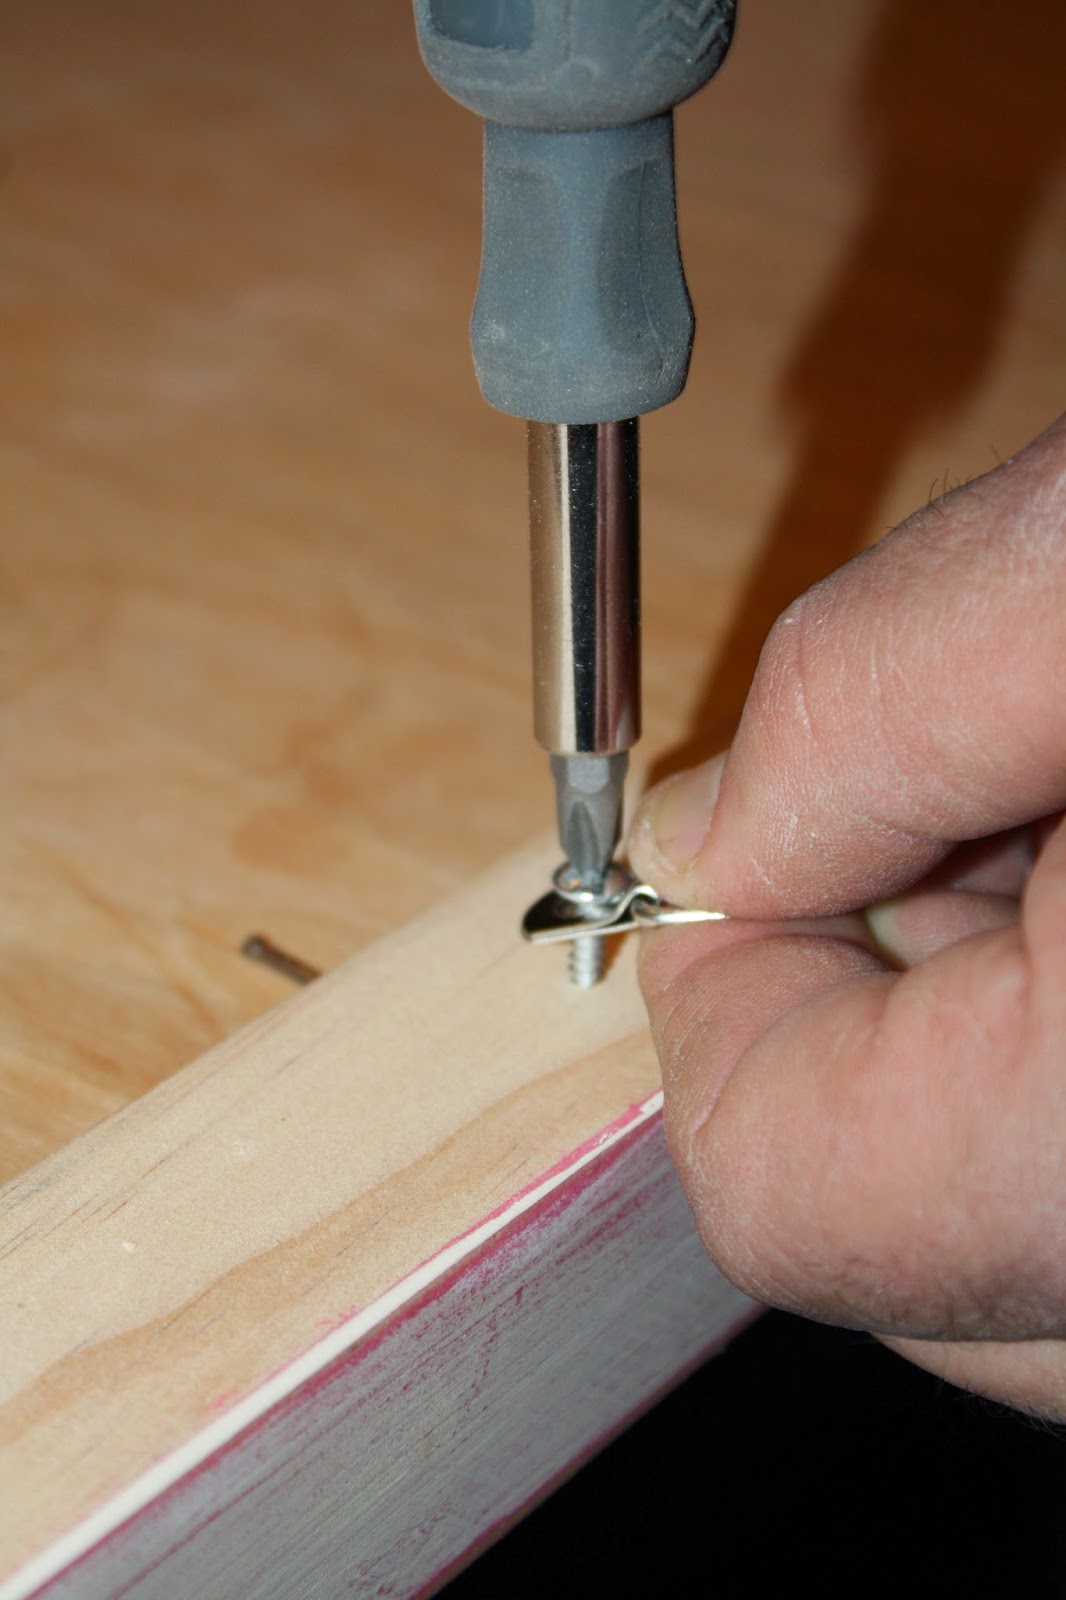
Brackets and wire for hanging...
We were so pleased with how it turned out, but Sara had the final say...

*Paint was provided by Country Chic Paint. All opinions of the product are my own.
Since we were pretty much home all day and it was too cold to paint out in the workshop, we decided to build and paint a frame for a piece of art my dad had given me. He had the piece drawn by an artist on the street the last time he was in China. It is a lovely piece and the colours were perfect to use in Sara's "beachy lounge room". I didn't want the picture to look too formal, so I knew I would be giving it a super shabby treatment. I had been given a few samples of paint from Country Chic Paint, and I thought that a combination of Cherry Blossom and Cheesecake would look lovely on a frame...
Travis bought two pine 1 x 3 x 8 pieces, and two 1 x 2 x 8 pieces.
Then he glued and nailed the 1 x 2's to the 1 x 3's to add some thickness and an inset for the glass inside the frame:
Then he ran it through the saw on the flush side just to make sure they were smooth and even, and clean up the edge...
Next, he cut 45 degree angles for the lengths of each side. He uses a chop saw for this...
After the angles were cut, he glued the edges and nailed them together. He tells me the trick with glue is to apply it and then pat it down. This prevents the glue from running...
![]() |
| use a 90 degree cut to place in the corners and steady your frame while nailing |
Pooky and sanding follows to finish the corners...
Now it's time to paint! I started off with a coat of Cherry Blossom as my base...
After the base coat dried, I took a candle and smeared some places on the frame where I wanted the next coat of paint to meet a resist, or not stick to the frame. You can use vaseline for this step as well.
Then I applied a second coat using Country Chic Paint in Cheesecake. You can see here where the paint looks a little grainy from the wax I used on the base coat.
Once that was dry it was time to hit it with the sander. I wanted a severely distressed look for this frame, so I used my hand sander with a 220 grit paper. I hit the corners a little harder which caused some spots to show through to the wood. That was fine since I knew I was going to be going back over it with a few waxes. You can see here where the paint resisted taking to the pink...
Then I used some of the Country Chic clear wax and gold wax to add a little sparkle to the frame. Once the wax was dry I gave it a good buffing with a soft cloth until it was butter smooth...
![]() |
| I love how the gold wax looks on the raw wood! |
Travis and I added the glass, placed the paper on top and backed it with a piece of quarter inch plywood, and secured it with inch and a quarter finishing nails.
Every piece we create we always sign the back and give some info on it...
Brackets and wire for hanging...
We were so pleased with how it turned out, but Sara had the final say...
Project cost/time breakdown:
Wood: $20
Hanging Kit: $4
Glass: $24
Total: $48
Time: 2 hours

*Paint was provided by Country Chic Paint. All opinions of the product are my own.
1.20.2014
Country Chic Paint- a review...
A few months ago I was contacted by Country Chic Paint to give their new paint a try. I am not one to turn down paint. In fact, I'm the kind of girl who will chose paint over new clothes. #paintlove
My paint arrived, but it was too cold outside to actually open it up and play, so I spent some time just photographing the pretty cans. This stuff was packaged so well- each individual wax and paint was bubble wrapped and taped. And how cute are those labels?
I chose the colours Hurricane, Vintage Cupcake, Elegance, and Vanilla Frosting. I know, yummy names. I'm just thankful they didn't smell like those buttercream candles. I remember being pregnant and burning one, only to find myself debating whether or not the candle might actually taste like buttercream...
Finally the weather warmed up and I was able to go out to the workshop and play with my new paint! I started with the Vintage Cupcake, because anything with the word cupcake in it has to be good.
I had an old dresser that was in need of some refinishing and paint love. If you follow me on Instagram, you probably saw the number of drawers strewed about my workshop floor!
First, I applied two coats of the lovely pink Vintage Cupcake. This paint lives up to it's confectioner's names- it goes on like butter. No lumps or bumps- just consistent smooth and even coverage. This is a chalk type paint and goes on very flat. It's the wax that gives it a smooth to the touch finish.
Then I hit the edges with a 150 grit block. I went back and applied some dark wax, using a rag and rubbing it in as I went for an all over subdued pink look.
Once the dark wax had lost it's tacky feel I went back and distressed the entire piece with my hand sander and 220 grit paper. I focused mainly on the edges of the piece for distressing. I love how the dark wax softened the pink a bit and added a bit of an aged look.
This piece had a lovely scalloped top which I decided to highlight by staining it instead of painting it.
I love to save old hardware and knobs. This piece was missing one of the center pulls, and I had two of my bedroom dresser pulls laying out in my workshop- it was perfect on this piece and I love the mix of wood and the aged patina of the brass pulls.
I am big on how a paint cleans up as well as goes on, and this paint did not disappoint. Sometimes chalk additives can gunk up in a brush and make it hard to complete a project without changing/cleaning brushes. Country Chic Paint didn't gunk up my brush, and it was super easy to clean up with soap and water.
I will be doing a few more posts on projects painted with Country Chic Paint in the next few weeks, including a tutorial on how to wet distress a piece and making a sign.

*all opinions and statements about this product are my own. I was given product by Country Chic Paint to use for this review.
My paint arrived, but it was too cold outside to actually open it up and play, so I spent some time just photographing the pretty cans. This stuff was packaged so well- each individual wax and paint was bubble wrapped and taped. And how cute are those labels?
I chose the colours Hurricane, Vintage Cupcake, Elegance, and Vanilla Frosting. I know, yummy names. I'm just thankful they didn't smell like those buttercream candles. I remember being pregnant and burning one, only to find myself debating whether or not the candle might actually taste like buttercream...
Finally the weather warmed up and I was able to go out to the workshop and play with my new paint! I started with the Vintage Cupcake, because anything with the word cupcake in it has to be good.
I had an old dresser that was in need of some refinishing and paint love. If you follow me on Instagram, you probably saw the number of drawers strewed about my workshop floor!
First, I applied two coats of the lovely pink Vintage Cupcake. This paint lives up to it's confectioner's names- it goes on like butter. No lumps or bumps- just consistent smooth and even coverage. This is a chalk type paint and goes on very flat. It's the wax that gives it a smooth to the touch finish.
Then I hit the edges with a 150 grit block. I went back and applied some dark wax, using a rag and rubbing it in as I went for an all over subdued pink look.
Once the dark wax had lost it's tacky feel I went back and distressed the entire piece with my hand sander and 220 grit paper. I focused mainly on the edges of the piece for distressing. I love how the dark wax softened the pink a bit and added a bit of an aged look.
This piece had a lovely scalloped top which I decided to highlight by staining it instead of painting it.
I love to save old hardware and knobs. This piece was missing one of the center pulls, and I had two of my bedroom dresser pulls laying out in my workshop- it was perfect on this piece and I love the mix of wood and the aged patina of the brass pulls.
I am big on how a paint cleans up as well as goes on, and this paint did not disappoint. Sometimes chalk additives can gunk up in a brush and make it hard to complete a project without changing/cleaning brushes. Country Chic Paint didn't gunk up my brush, and it was super easy to clean up with soap and water.
I will be doing a few more posts on projects painted with Country Chic Paint in the next few weeks, including a tutorial on how to wet distress a piece and making a sign.

*all opinions and statements about this product are my own. I was given product by Country Chic Paint to use for this review.


Subscribe to:
Posts (Atom)