Showing posts with label DIY. Show all posts

1.13.2015

Wall mounted Kraft paper holder...


Because of the way our kitchen is designed, and the fact that we don't have a freezer, I am at the grocery store every day to every other day.  It's a lifestyle change, and working from home makes this easy for me to do.  I am a list maker by nature, but this kitchen has turned me into a bit of a list monster!  I was constantly searching for my grocer post it notes or list that I had started, put down, and forgot where I put it.

The solution was to put a wall mounted kraft paper holder on the wall next to the kitchen.  At least that was the solution until I started pricing them!  I found one company that offered one, but at $240 plus $60 to ship, um, no.   So we decided to build one ourselves, and by "us" I mean Travis.  I pointed a lot and cheered him on ;)

We started out with a few things from the hardware store, including this roll of painter's paper found for $3.98, a fraction of the cost of Kraft paper...


It's thinner than traditional Kraft paper, but it was perfect for this project and the cost can't be beat.

Travis began by cutting the board backing.  Since it is mounted on the wall and I will be using a sharpie, I didn't want bleed through onto the wall....


He then took small square pieces and used the skill saw to cut out a slide in and holder notch for the dowel that will hold the paper roll....


Here you can see how he designed the dowel to slide in and sit inside the L shape.  Once the side square pieces were glued and nailed to the backer board, he placed another piece of wood to create the top of the board...


So the finished construction looked like this...


Then he painted the entire piece in Iron Ore by Sherwin Williams.  This is the same colour as our interior doors and I just love it's smoky black with a touch of grey...


Travis used four anchor bolts to attach it to the wall...


On the bottom of the board he attached a strip of metal to hold the paper down at the bottom...


We screwed an eye hook into the board and attached a string to hold the sharpie marker.  And VIOLA!  our wall mounted Kraft paper holder was completed for just $40 in material.  A much better alternative to the inspiration piece priced at $240...

We used our first list just yesterday at the store.  Sara goes with me to shop and reads out the list.  Because the paper (and writing) were much bigger it was so much easier for her to use the list.  Win-win in my book!

12.22.2014

Hunter's Headboard...

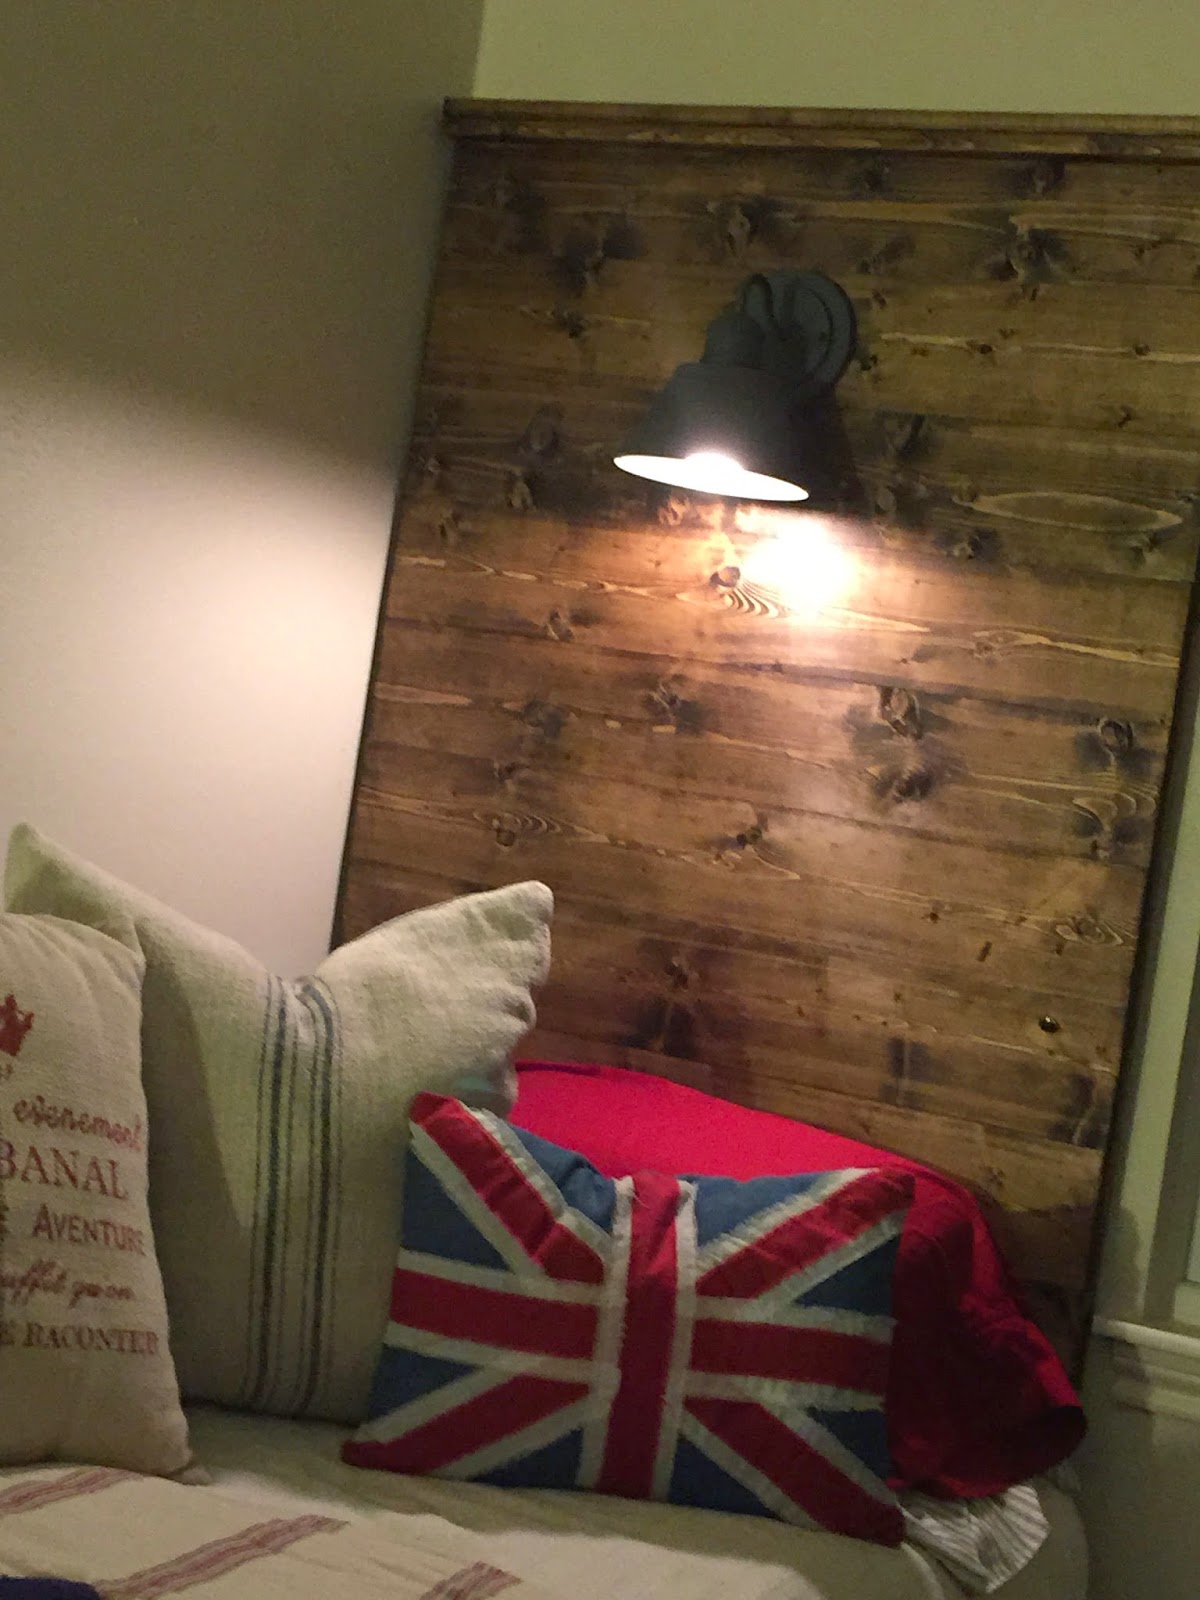
Since Travis has had a few days off here and there, we decided to knock out a few of our tiny projects.  Hunter has become a huge fan of reading in bed before he goes to sleep, and I wanted to give him a headboard with a light for just that purpose.

We followed the same construction design we used for our Ballard Design Knock-off headboard, but made his using horizontal planks and squared in shape.

First Travis started off with 8- 1x6x8 knotty pine boards.


The boards were then cut into four foot sections for the height of the piece...


Three foot sections were cut for the width...


Then Travis laid all the boards together to make sure they would line up...


Taking the three foot boards, he put a little glue on the back of each piece and then laid a four foot piece on top of it, and secured the pieces with the nail gun...


 After nailing all of the boards on, he ripped a 1x6 to a 1x2 and secured it to the top to give the piece a bit of a header...


He then added a 1x4 on top of that...


To do the electrical, he located a spot toward the bottom of the headboard to put the on/off button for the light...


He then secured the light fixture after drilling a hole in the back of the piece for the wires to go through...

He left a 1x3 board out of the back of the piece so that the wires would lay flush...


The piece is stained using Minwax stain in Dark Walnut...


Wiring:  Travis used an extension cord and cut the female (socket)  end off and wired the switch into the hot wire...


 Here is the fininshed piece before installation...


Travis used drywall anchors and D Ring hangers to attach the headboard to the wall...


Travis is planning on building a wooden base to raise the bed a bit and give some tie in with the wood on the headboard...

But that's a tiny project for another day ;)

2.04.2014

Making a picture frame...

Yesterday was cold and rainy.   Our weather this winter has been much colder than normal, and temps are expected to drop back into the 30's, so the succulents had to be brought inside...


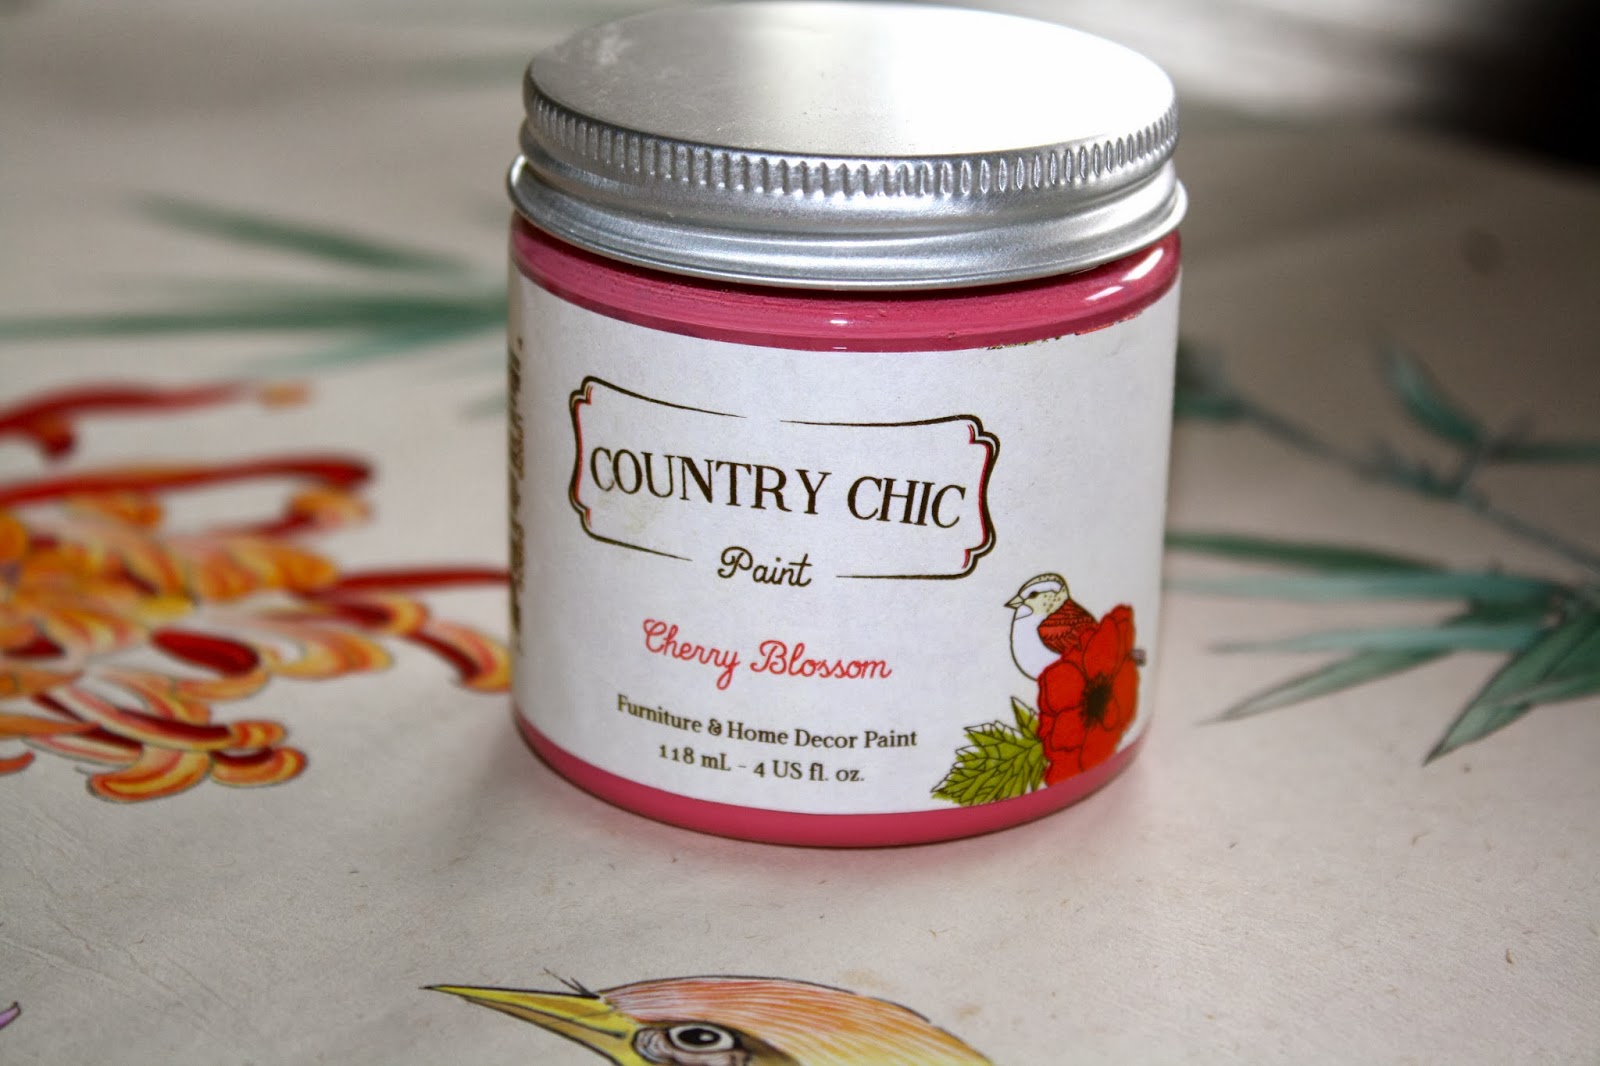
Since we were pretty much home all day and it was too cold to paint out in the workshop, we decided to build and paint a frame for a piece of art my dad had given me.   He had the piece drawn by an artist on the street the last time he was in China.  It is a lovely piece and the colours were perfect to use in Sara's "beachy lounge room".   I didn't want the picture to look too formal, so I knew I would be giving it a super shabby treatment.  I had been given a few samples of paint from Country Chic Paint, and I thought that a combination of Cherry Blossom and Cheesecake would look lovely on a frame...


Travis bought two pine 1 x 3 x 8 pieces, and two 1 x 2 x 8 pieces.


Then he glued and nailed the 1 x 2's to the 1 x 3's to add some thickness and an inset for the glass inside the frame:


Then he ran it through the saw on the flush side just to make sure they were smooth and even, and clean up the edge...


Next, he cut 45 degree angles for the lengths of each side.  He uses a chop saw for this...


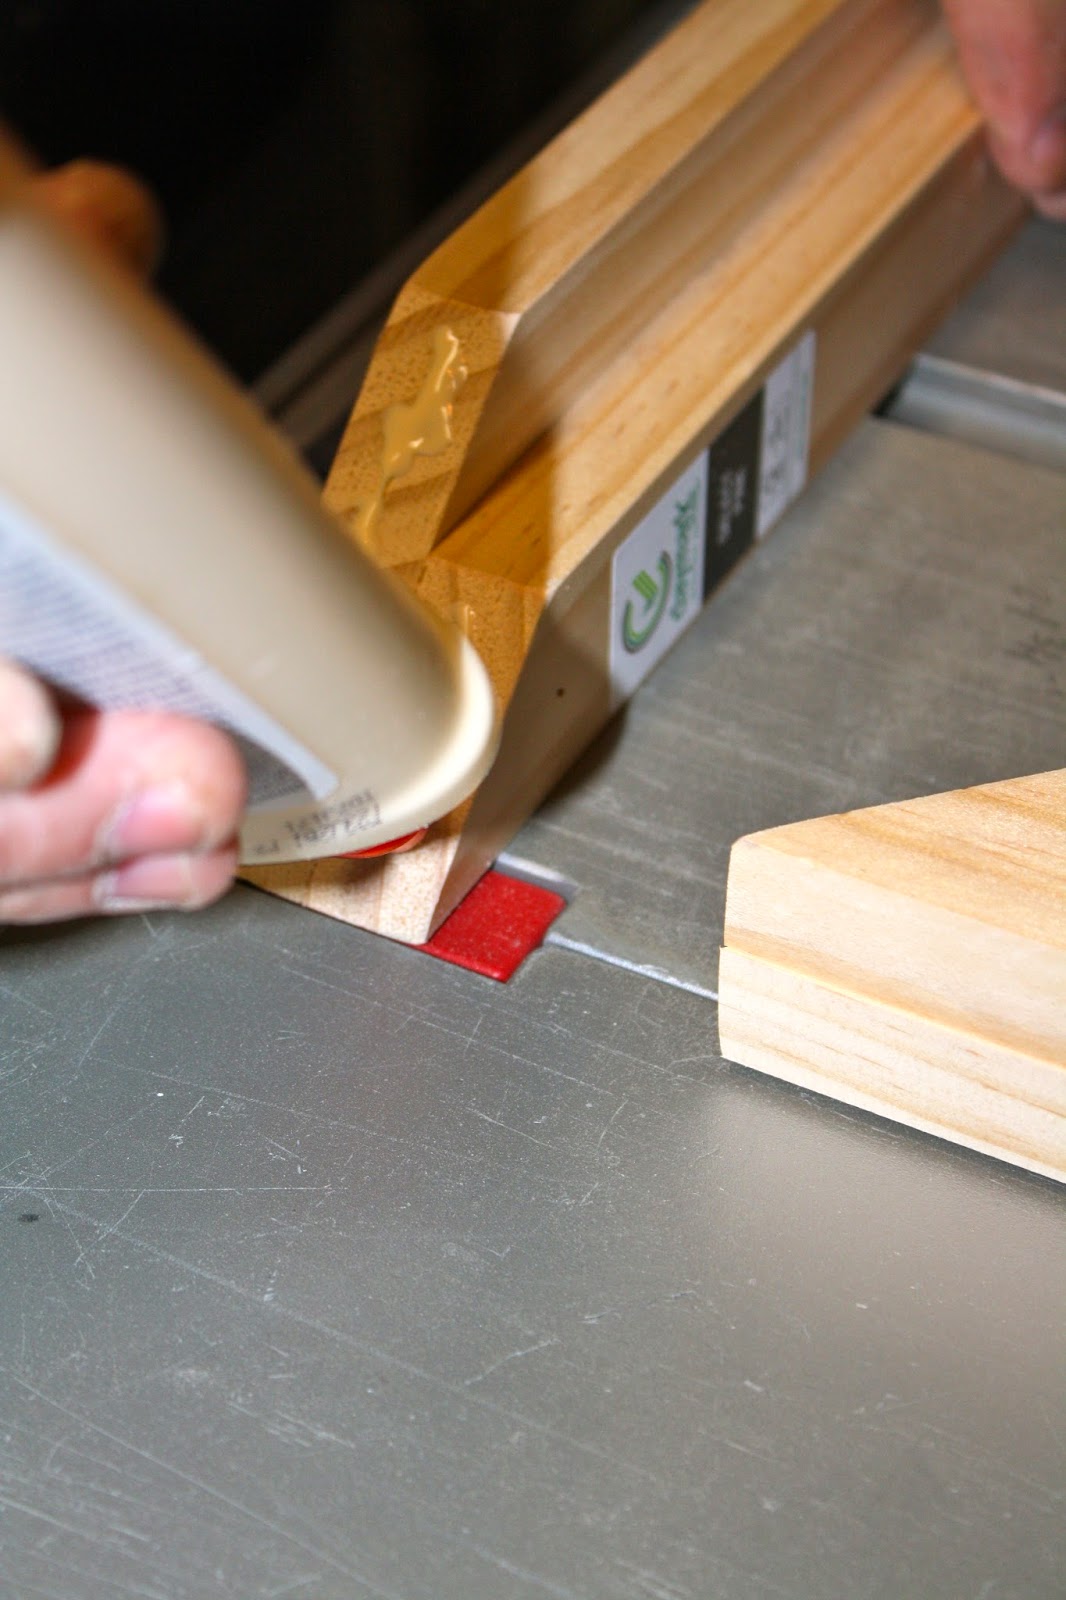
After the angles were cut, he glued the edges and nailed them together.  He tells me the trick with glue is to apply it and then pat it down.  This prevents the glue from running...


use a 90 degree cut to place in the corners and steady your frame while nailing


Pooky and sanding follows to finish the corners...


Now it's time to paint!  I started off with a coat of Cherry Blossom as my base...


After the base coat dried, I took a candle and smeared some places on the frame where I wanted the next coat of paint to meet a resist, or not stick to the frame.  You can use vaseline for this step as well.


Then I applied a second coat using Country Chic Paint in Cheesecake.   You can see here where the paint looks a little grainy from the wax I used on the base coat.


Once that was dry it was time to hit it with the sander.  I wanted a severely distressed look for this frame, so I used my hand sander with a 220 grit paper.  I hit the corners a little harder which caused some spots to show through to the wood.   That was fine since I knew I was going to be going back over it with a few waxes.  You can see here where the paint resisted taking to the pink...


Then I used some of the Country Chic clear wax and gold wax to add a little sparkle to the frame.  Once the wax was dry I gave it a good buffing with a soft cloth until it was butter smooth...


I love how the gold wax looks on the raw wood!

Travis and I added the glass, placed the paper on top and backed it with a piece of quarter inch plywood, and secured it with inch and a quarter finishing nails.


Every piece we create we always sign the back and give some info on it...


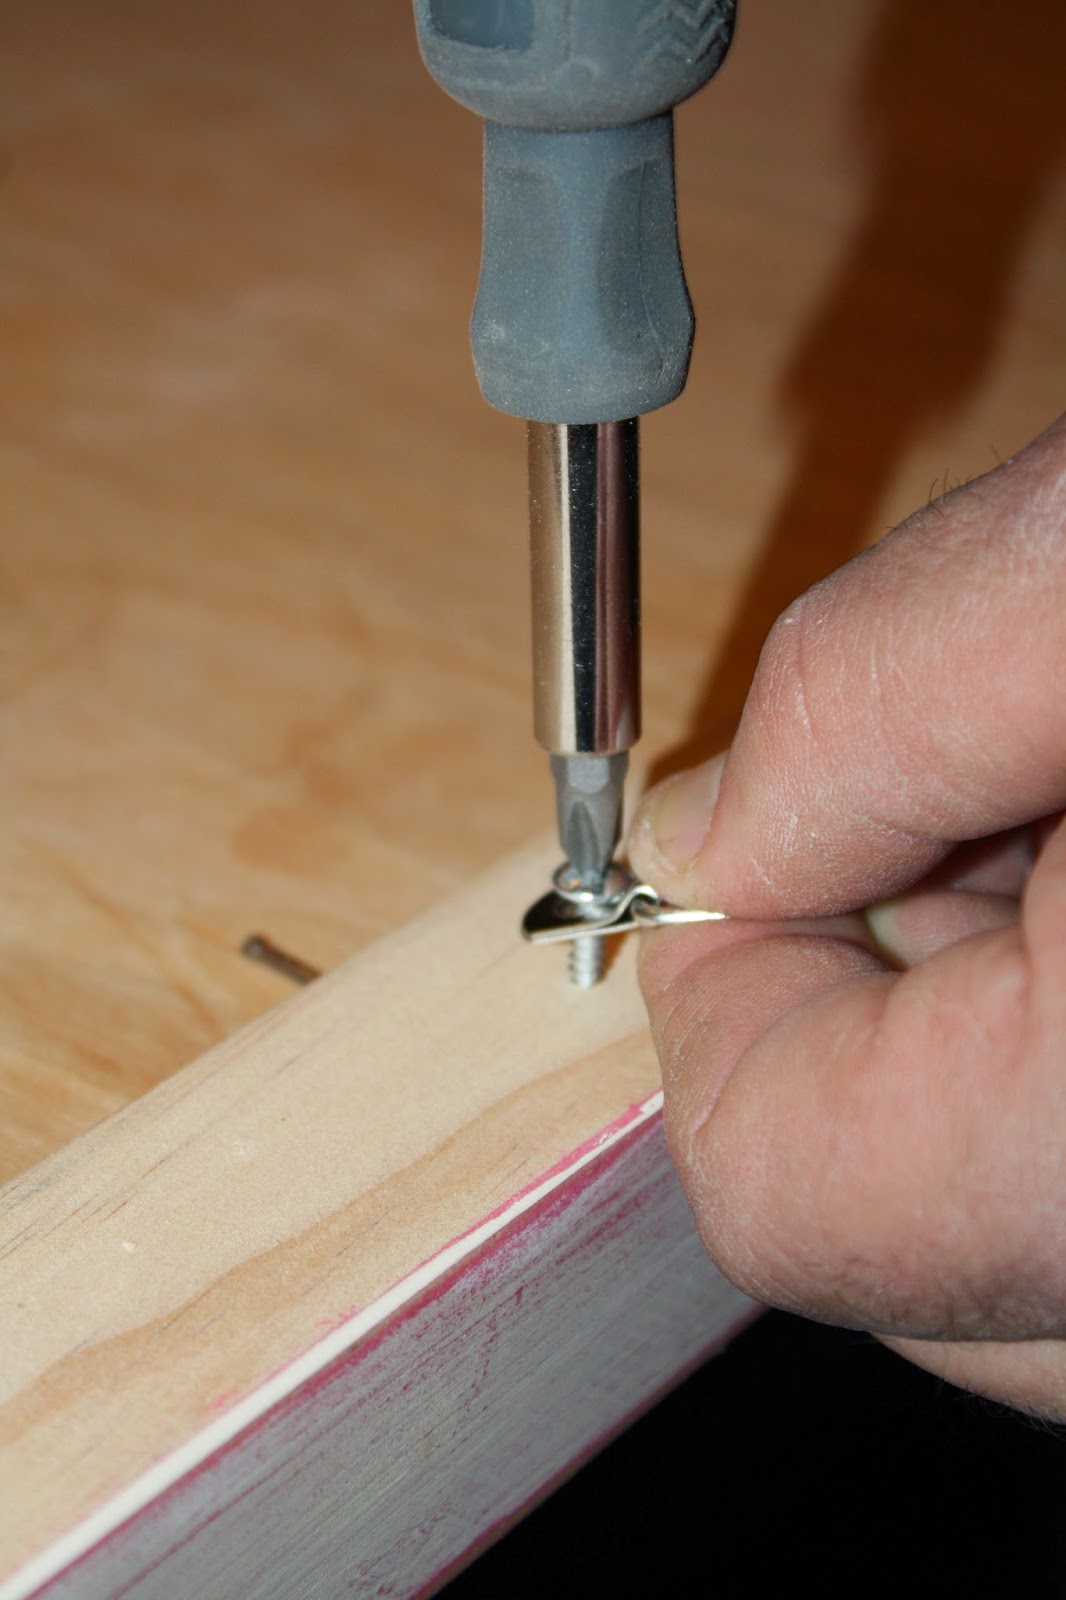
Brackets and wire for hanging...


We were so pleased with how it turned out, but Sara had the final say...


Project cost/time breakdown:


Wood:  $20
Hanging Kit:  $4
Glass:  $24

Total:  $48

Time: 2 hours


*Paint was provided by Country Chic Paint.  All opinions of the product are my own.