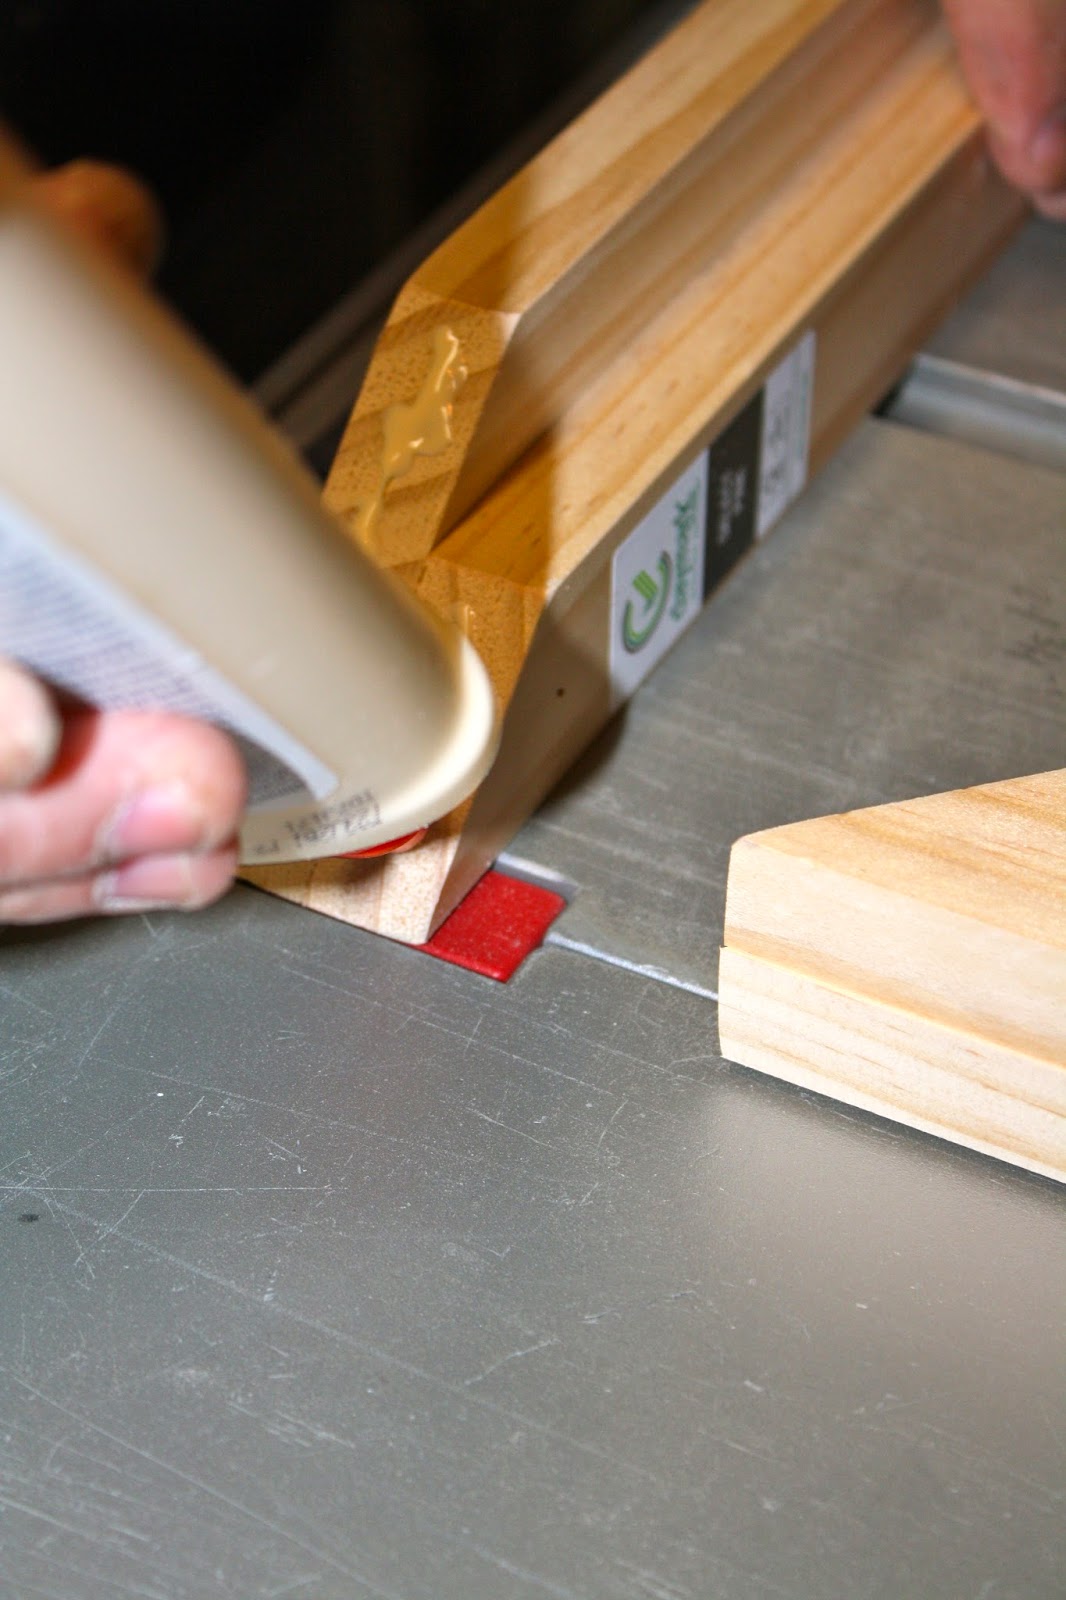
Now that Travis is off turnaround we are going to try and cross a few projects off our list. The laundry room is the next big project, and I am thinking we will tackle that in December, but for today we are making Sara a headboard.
Originally I was going to do something like this...

Minus the fabric, tufting, or super fancy engraved wood- and the expense. Yeah, totally just like that.
I've had an old door that I found in a junk shop for a few years ago. In the last house it sat propped up against the wall in the living room. I adore the size (a bit smaller than a standard door) and love that it came out of one of the old houses in Galveston. It's chippy perfection, and I got to thinking that it would probably make a really cool headboard in her room.
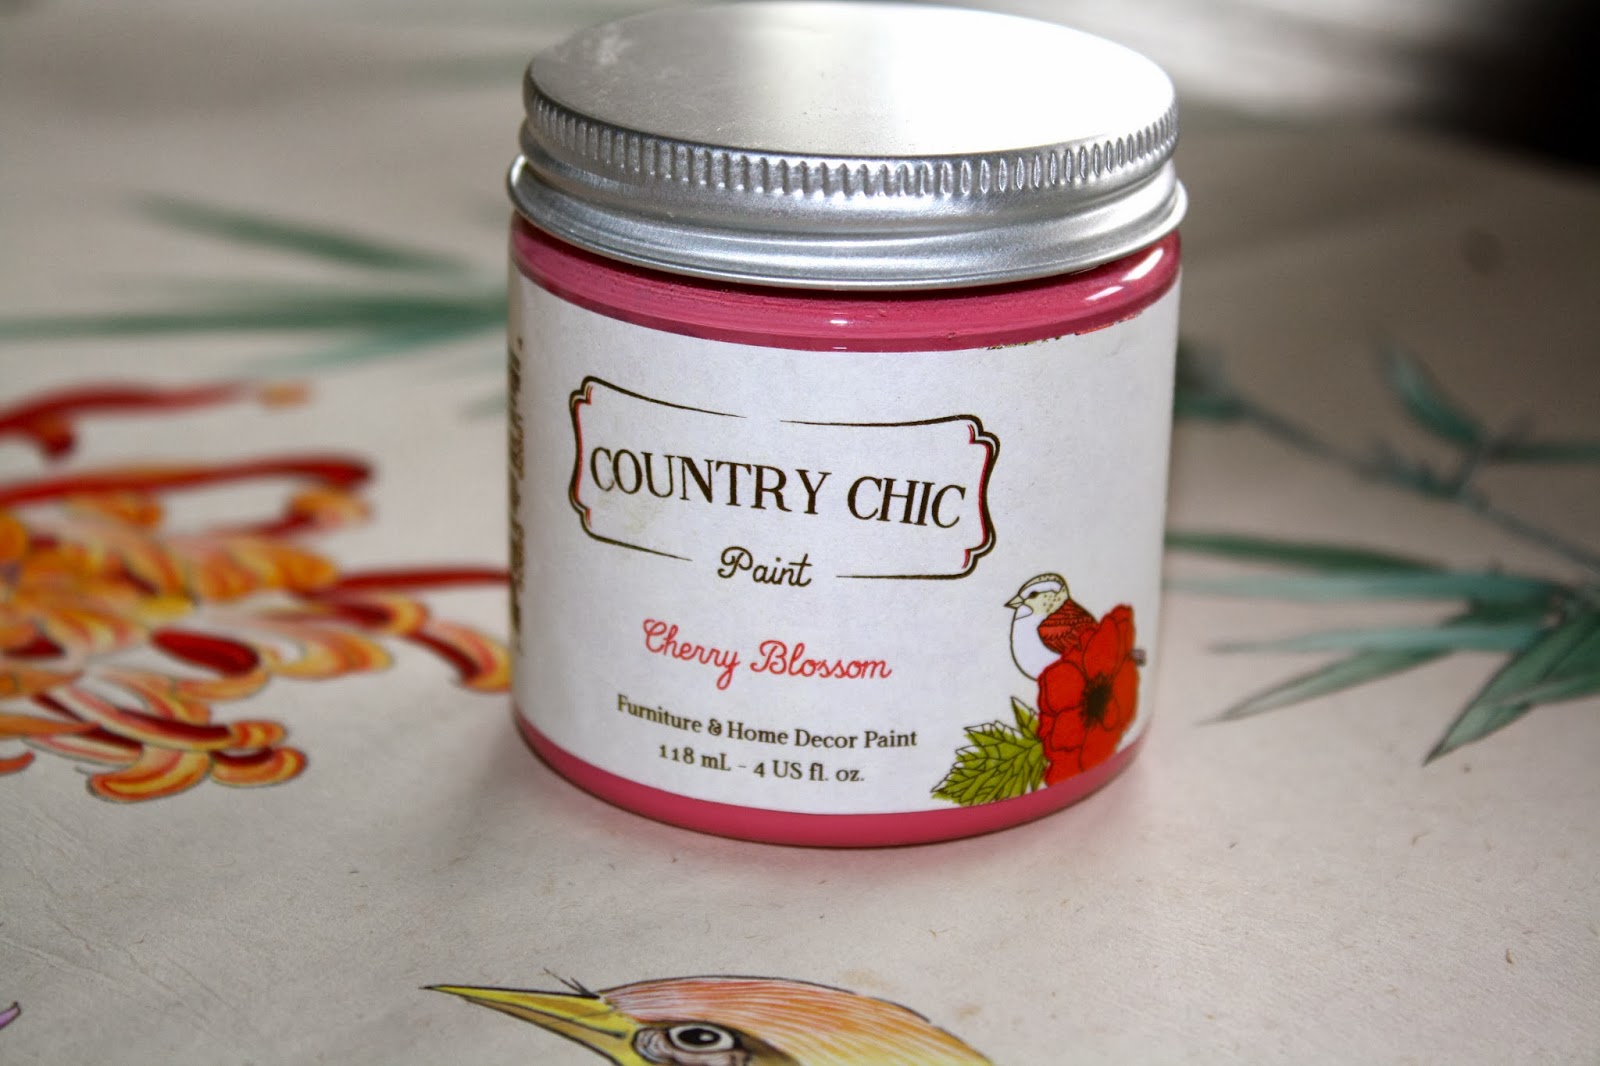
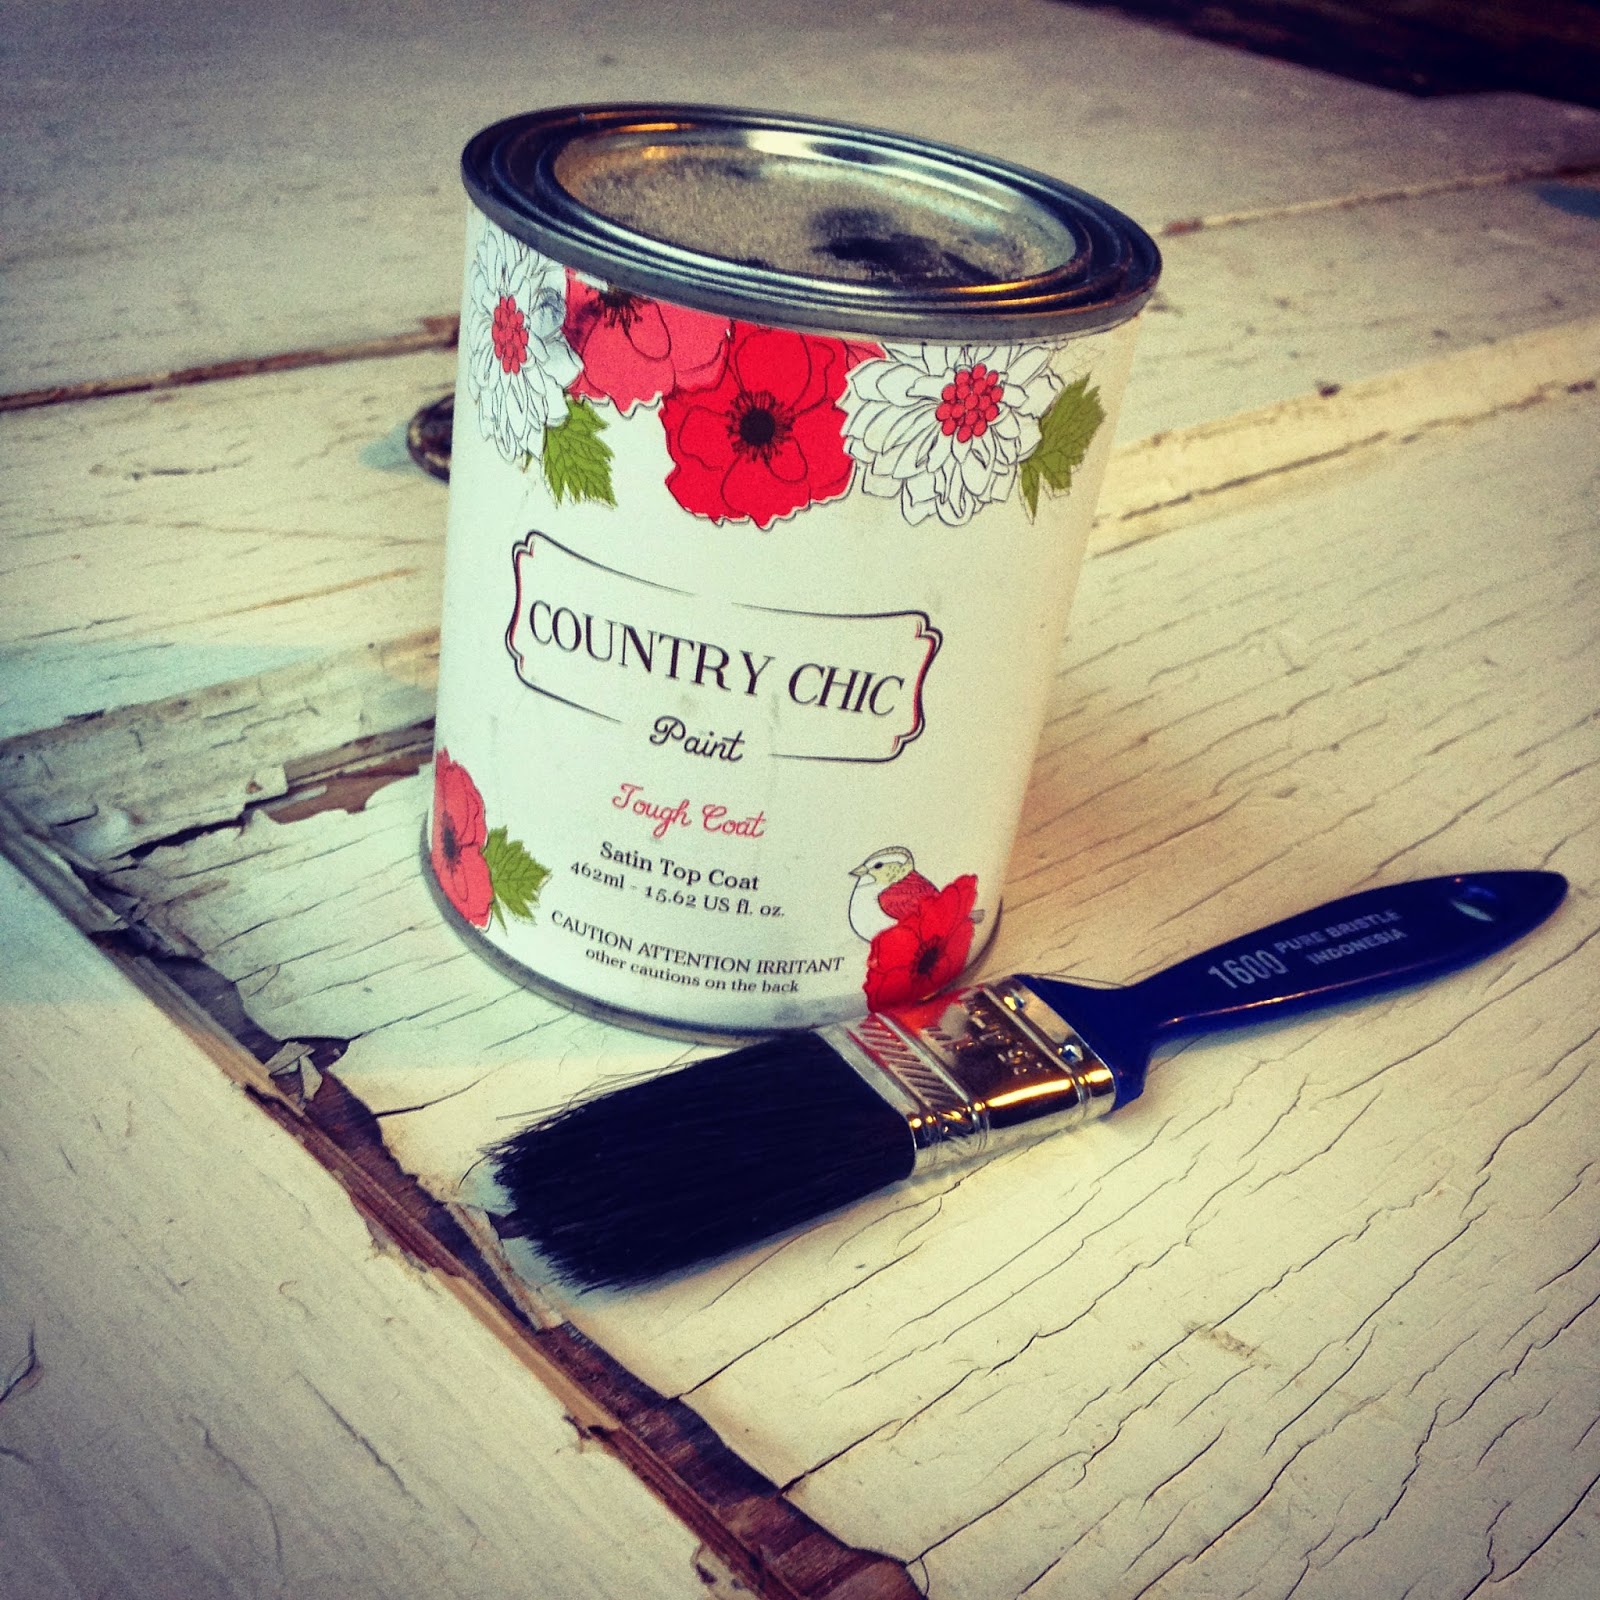
Well, except that it is more than likely painted in lead paint and tends to spread bits of chippiness wherever it goes. Like little sprinkles of happy, only I really can't have Sara picking paint flakes out of her hair everyday, so I decided to use some Country Chic Paint Tough Coat on it. It was the perfect product to lock in some of that chippyness without me having to worry about it yellowing down the road.


Travis used hinges to connect the two boards together.

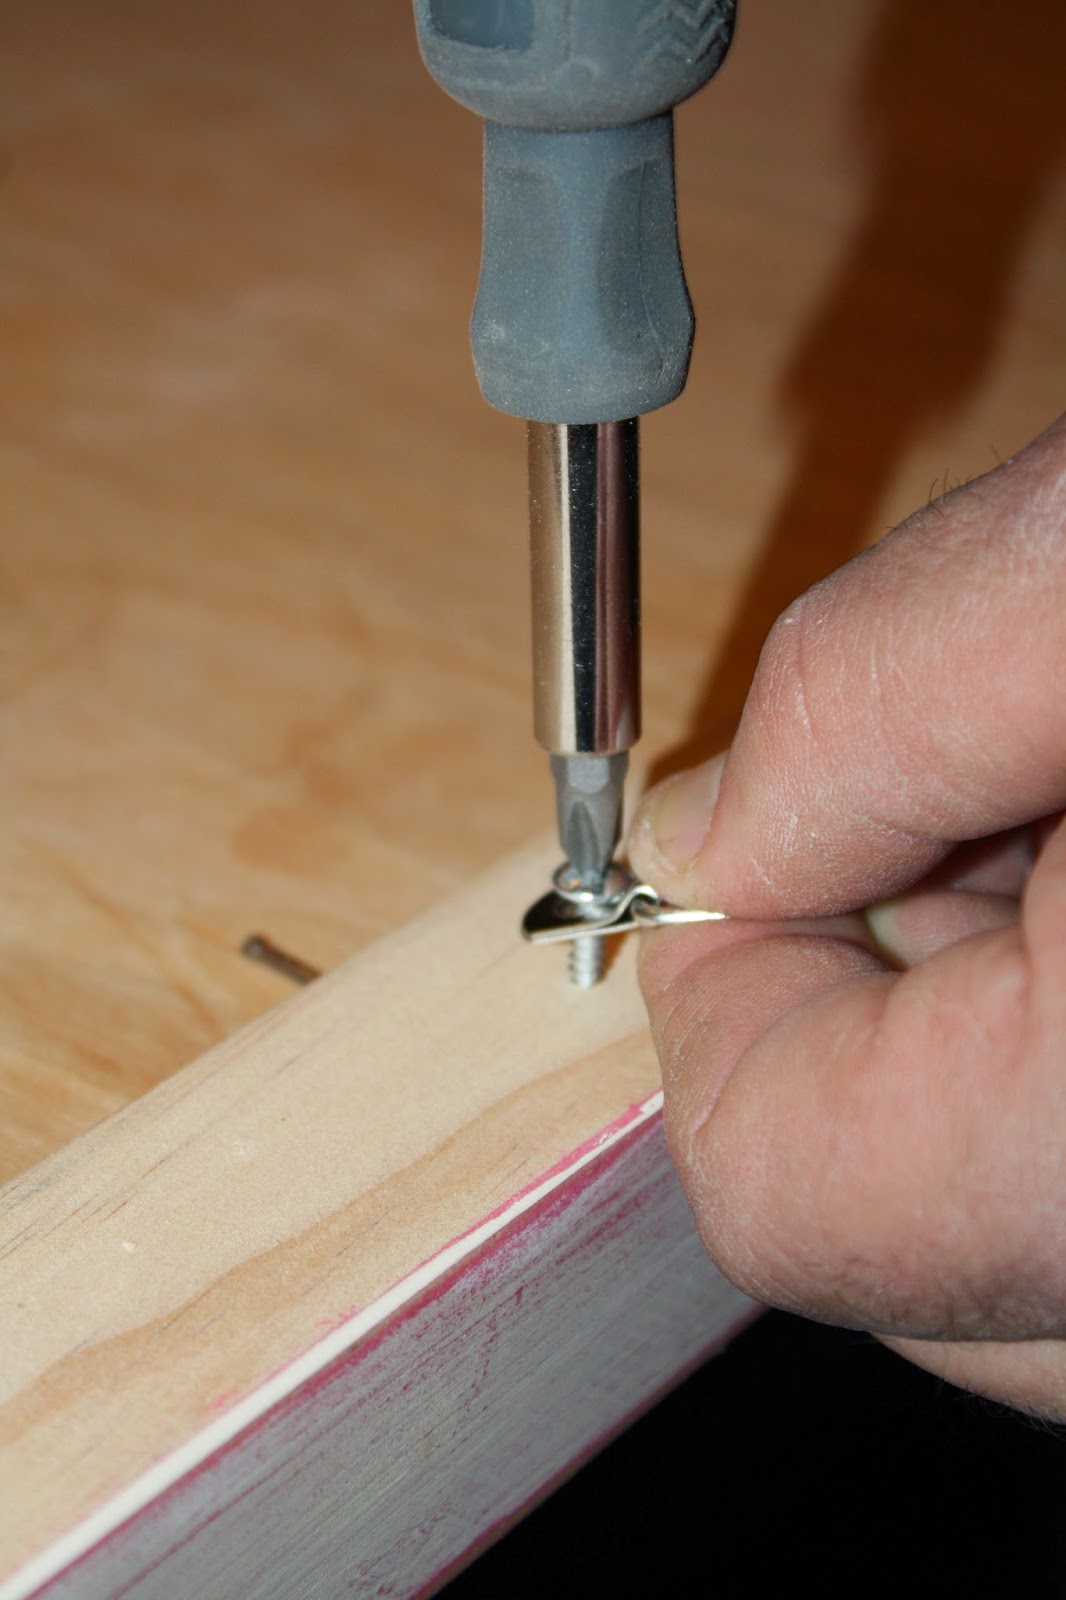
Once the Tough Coat dried it was time to hang it! We used super sturdy hanging hardware to insure that it would stay in place. Nothing is worse than a headboard crashing down on you in the middle of the night. And why is it that those things always happen in the middle of the night?? Like the object is being held in place with solar energy...


I'm so pleased with how this little mini-project turned out. I think the door-turned-headboard adds some chippy charm to her room and really pops next to the black wall. Throw in the added bonus of it being a no-cost project!
Next, I will build her a wooden valance to go high up over the window and cover it in the same black and white stripe material as her bedskirt. Then I think I'm going to call the room finished, but we all know how that goes ;)

Originally I was going to do something like this...
Minus the fabric, tufting, or super fancy engraved wood- and the expense. Yeah, totally just like that.
I've had an old door that I found in a junk shop for a few years ago. In the last house it sat propped up against the wall in the living room. I adore the size (a bit smaller than a standard door) and love that it came out of one of the old houses in Galveston. It's chippy perfection, and I got to thinking that it would probably make a really cool headboard in her room.
 |
| What you can't hear is me talking like the magician who is sawing the girl in half... |
Well, except that it is more than likely painted in lead paint and tends to spread bits of chippiness wherever it goes. Like little sprinkles of happy, only I really can't have Sara picking paint flakes out of her hair everyday, so I decided to use some Country Chic Paint Tough Coat on it. It was the perfect product to lock in some of that chippyness without me having to worry about it yellowing down the road.
Travis used hinges to connect the two boards together.
Once the Tough Coat dried it was time to hang it! We used super sturdy hanging hardware to insure that it would stay in place. Nothing is worse than a headboard crashing down on you in the middle of the night. And why is it that those things always happen in the middle of the night?? Like the object is being held in place with solar energy...
I'm so pleased with how this little mini-project turned out. I think the door-turned-headboard adds some chippy charm to her room and really pops next to the black wall. Throw in the added bonus of it being a no-cost project!
Next, I will build her a wooden valance to go high up over the window and cover it in the same black and white stripe material as her bedskirt. Then I think I'm going to call the room finished, but we all know how that goes ;)