Showing posts with label tinyprojects. Show all posts

3.10.2015

Laundry room progress...

Our tiny laundry room was on our list of things to complete before we moved in last August.  You know what they say about the best laid plans, right?  We had bought all of the materials, but with Travis on his turnaround schedule it just never happened.

This is week six of the USW strike, so in between picking up side jobs we decided to finish up the laundry room project.  Here is where the room started...

Pretty sure this was in a horror movie I once saw...

Not gonna lie- I didn't even walk all the way into this room when we first looked at the town house.  It was that gross.  The cinderblock wall is the firewall between the units, and although I liked the pattern of it I knew we would cover it up as part of the renovation.  There also used to be a door on the laundry room, something I wanted gone since I walk in and out of that room so many times a day!

Every home we have ever lived in and painted has this painted onto the wall first... #traditions

primed and ready to paint...


this is the tiny door under the dog's bed area that Travis built to access the dryer hook-up...


All painted up and ready for doors on the utility cabinet...

Lights up...

Utility cabinet organized...

The back of the washer/sink area will get subway tiles all the way to the ceiling...

I knew I wanted to skirt the sink, but I wasn't sure what material to use.  Buffalo check won out on IG...


This morning I gave Jack and Violet baths in the new sink.  It's deep and perfect for doggy bathing, but we really need to get that backsplash up!


Travis is going to build the utility cabinet doors today, and then all that is left is to put up the tile.  I'm so happy with how organized, light and bright this laundry space is.  A few people have asked why our washer and dryer were split up, and the answer is that orignially this room was outside the back door of the town home and the original owner closed it in.  What they didn't do was figure a way to  re-route the dryer vent so when we purchased the house it vented INTO the house instead of outside.  In order to properly vent the dryer it had to be moved to the other side of the room.  So that is why they are split up, which I'm kind of liking.  Having the sink right next to the washer makes more sense to me anyways ;)

1.13.2015

Wall mounted Kraft paper holder...


Because of the way our kitchen is designed, and the fact that we don't have a freezer, I am at the grocery store every day to every other day.  It's a lifestyle change, and working from home makes this easy for me to do.  I am a list maker by nature, but this kitchen has turned me into a bit of a list monster!  I was constantly searching for my grocer post it notes or list that I had started, put down, and forgot where I put it.

The solution was to put a wall mounted kraft paper holder on the wall next to the kitchen.  At least that was the solution until I started pricing them!  I found one company that offered one, but at $240 plus $60 to ship, um, no.   So we decided to build one ourselves, and by "us" I mean Travis.  I pointed a lot and cheered him on ;)

We started out with a few things from the hardware store, including this roll of painter's paper found for $3.98, a fraction of the cost of Kraft paper...


It's thinner than traditional Kraft paper, but it was perfect for this project and the cost can't be beat.

Travis began by cutting the board backing.  Since it is mounted on the wall and I will be using a sharpie, I didn't want bleed through onto the wall....


He then took small square pieces and used the skill saw to cut out a slide in and holder notch for the dowel that will hold the paper roll....


Here you can see how he designed the dowel to slide in and sit inside the L shape.  Once the side square pieces were glued and nailed to the backer board, he placed another piece of wood to create the top of the board...


So the finished construction looked like this...


Then he painted the entire piece in Iron Ore by Sherwin Williams.  This is the same colour as our interior doors and I just love it's smoky black with a touch of grey...


Travis used four anchor bolts to attach it to the wall...


On the bottom of the board he attached a strip of metal to hold the paper down at the bottom...


We screwed an eye hook into the board and attached a string to hold the sharpie marker.  And VIOLA!  our wall mounted Kraft paper holder was completed for just $40 in material.  A much better alternative to the inspiration piece priced at $240...

We used our first list just yesterday at the store.  Sara goes with me to shop and reads out the list.  Because the paper (and writing) were much bigger it was so much easier for her to use the list.  Win-win in my book!

12.22.2014

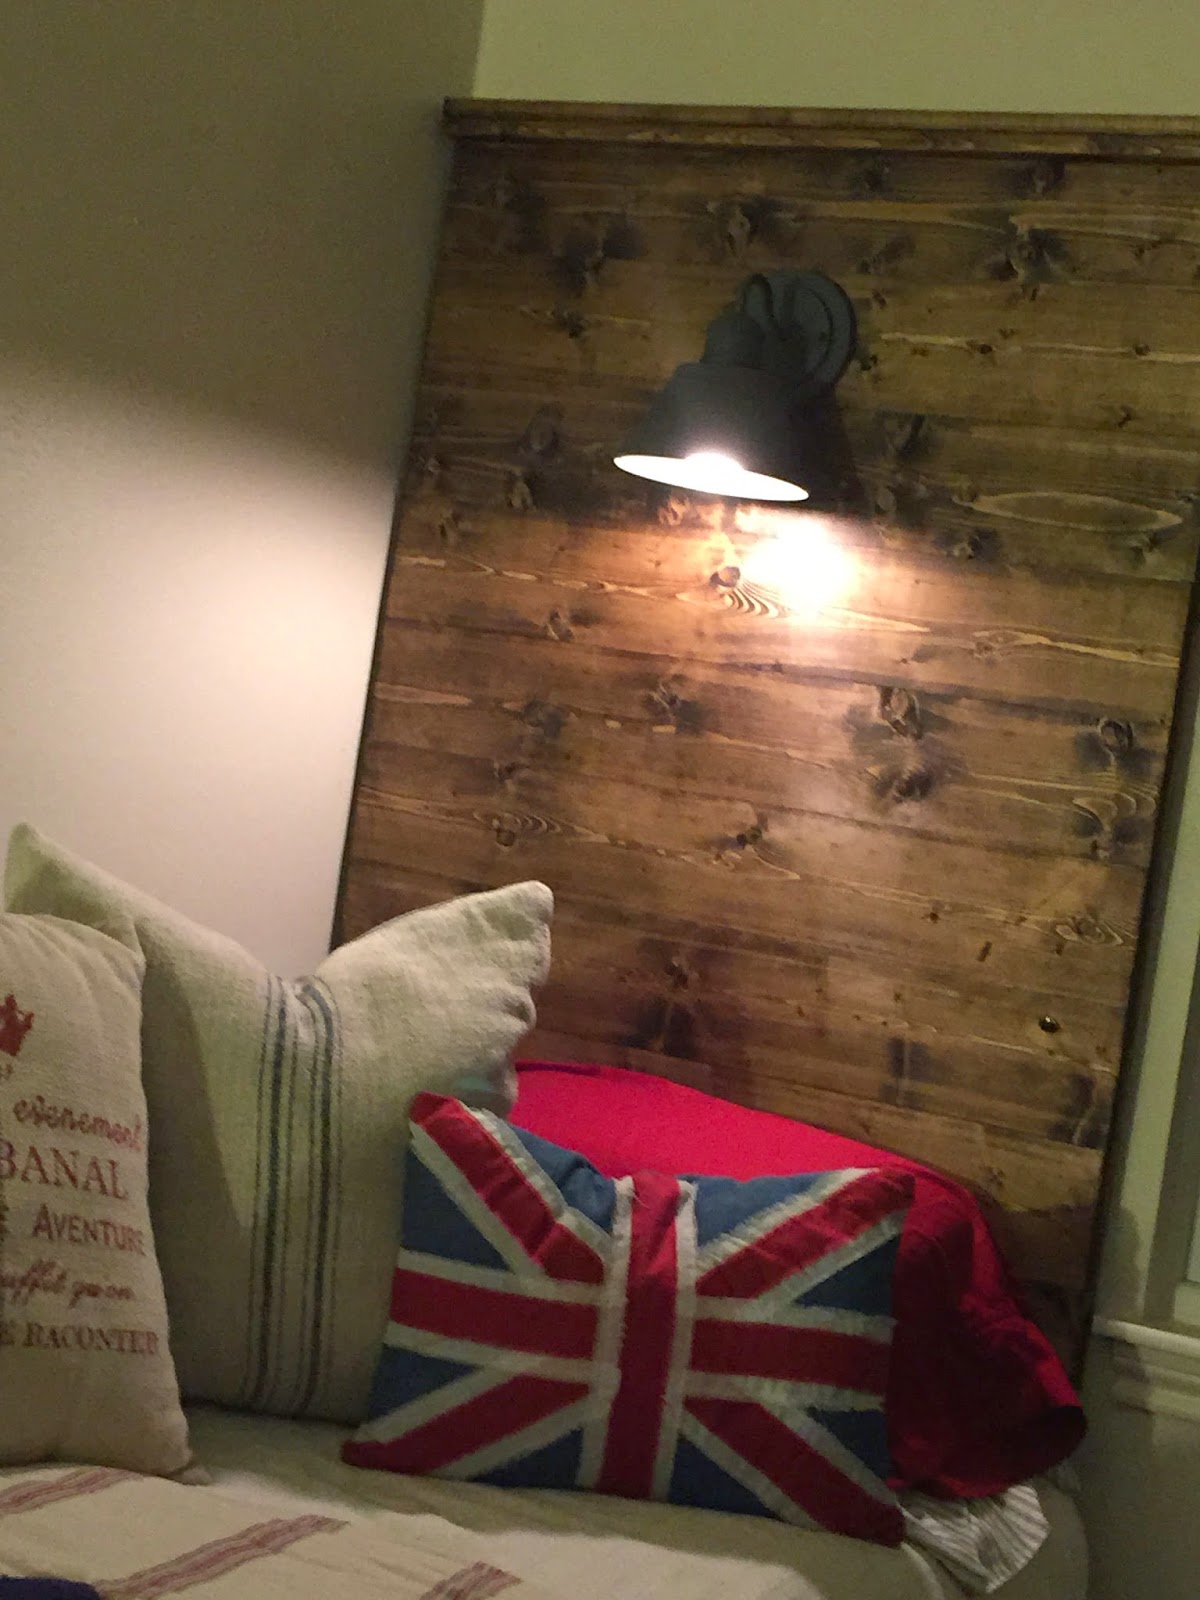
Hunter's Headboard...

Since Travis has had a few days off here and there, we decided to knock out a few of our tiny projects.  Hunter has become a huge fan of reading in bed before he goes to sleep, and I wanted to give him a headboard with a light for just that purpose.

We followed the same construction design we used for our Ballard Design Knock-off headboard, but made his using horizontal planks and squared in shape.

First Travis started off with 8- 1x6x8 knotty pine boards.


The boards were then cut into four foot sections for the height of the piece...


Three foot sections were cut for the width...


Then Travis laid all the boards together to make sure they would line up...


Taking the three foot boards, he put a little glue on the back of each piece and then laid a four foot piece on top of it, and secured the pieces with the nail gun...


 After nailing all of the boards on, he ripped a 1x6 to a 1x2 and secured it to the top to give the piece a bit of a header...


He then added a 1x4 on top of that...


To do the electrical, he located a spot toward the bottom of the headboard to put the on/off button for the light...


He then secured the light fixture after drilling a hole in the back of the piece for the wires to go through...

He left a 1x3 board out of the back of the piece so that the wires would lay flush...


The piece is stained using Minwax stain in Dark Walnut...


Wiring:  Travis used an extension cord and cut the female (socket)  end off and wired the switch into the hot wire...


 Here is the fininshed piece before installation...


Travis used drywall anchors and D Ring hangers to attach the headboard to the wall...


Travis is planning on building a wooden base to raise the bed a bit and give some tie in with the wood on the headboard...

But that's a tiny project for another day ;)

11.22.2014

Sealing in the chippy charm...

Now that Travis is off turnaround we are going to try and cross a few projects off our list.  The laundry room is the next big project, and I am thinking we will tackle that in December, but for today we are making Sara a headboard.

Originally I was going to do something like this...


Minus the fabric, tufting, or super fancy engraved wood- and the expense.  Yeah, totally just like that.

I've had an old door that I found in a junk shop for a few years ago.  In the last house it sat propped up against the wall in the living room.  I adore the size (a bit smaller than a standard door) and love that it came out of one of the old houses in Galveston.  It's chippy perfection, and I got to thinking that it would probably make a really cool headboard in her room.

What you can't hear is me talking like the magician who is sawing the girl in half...


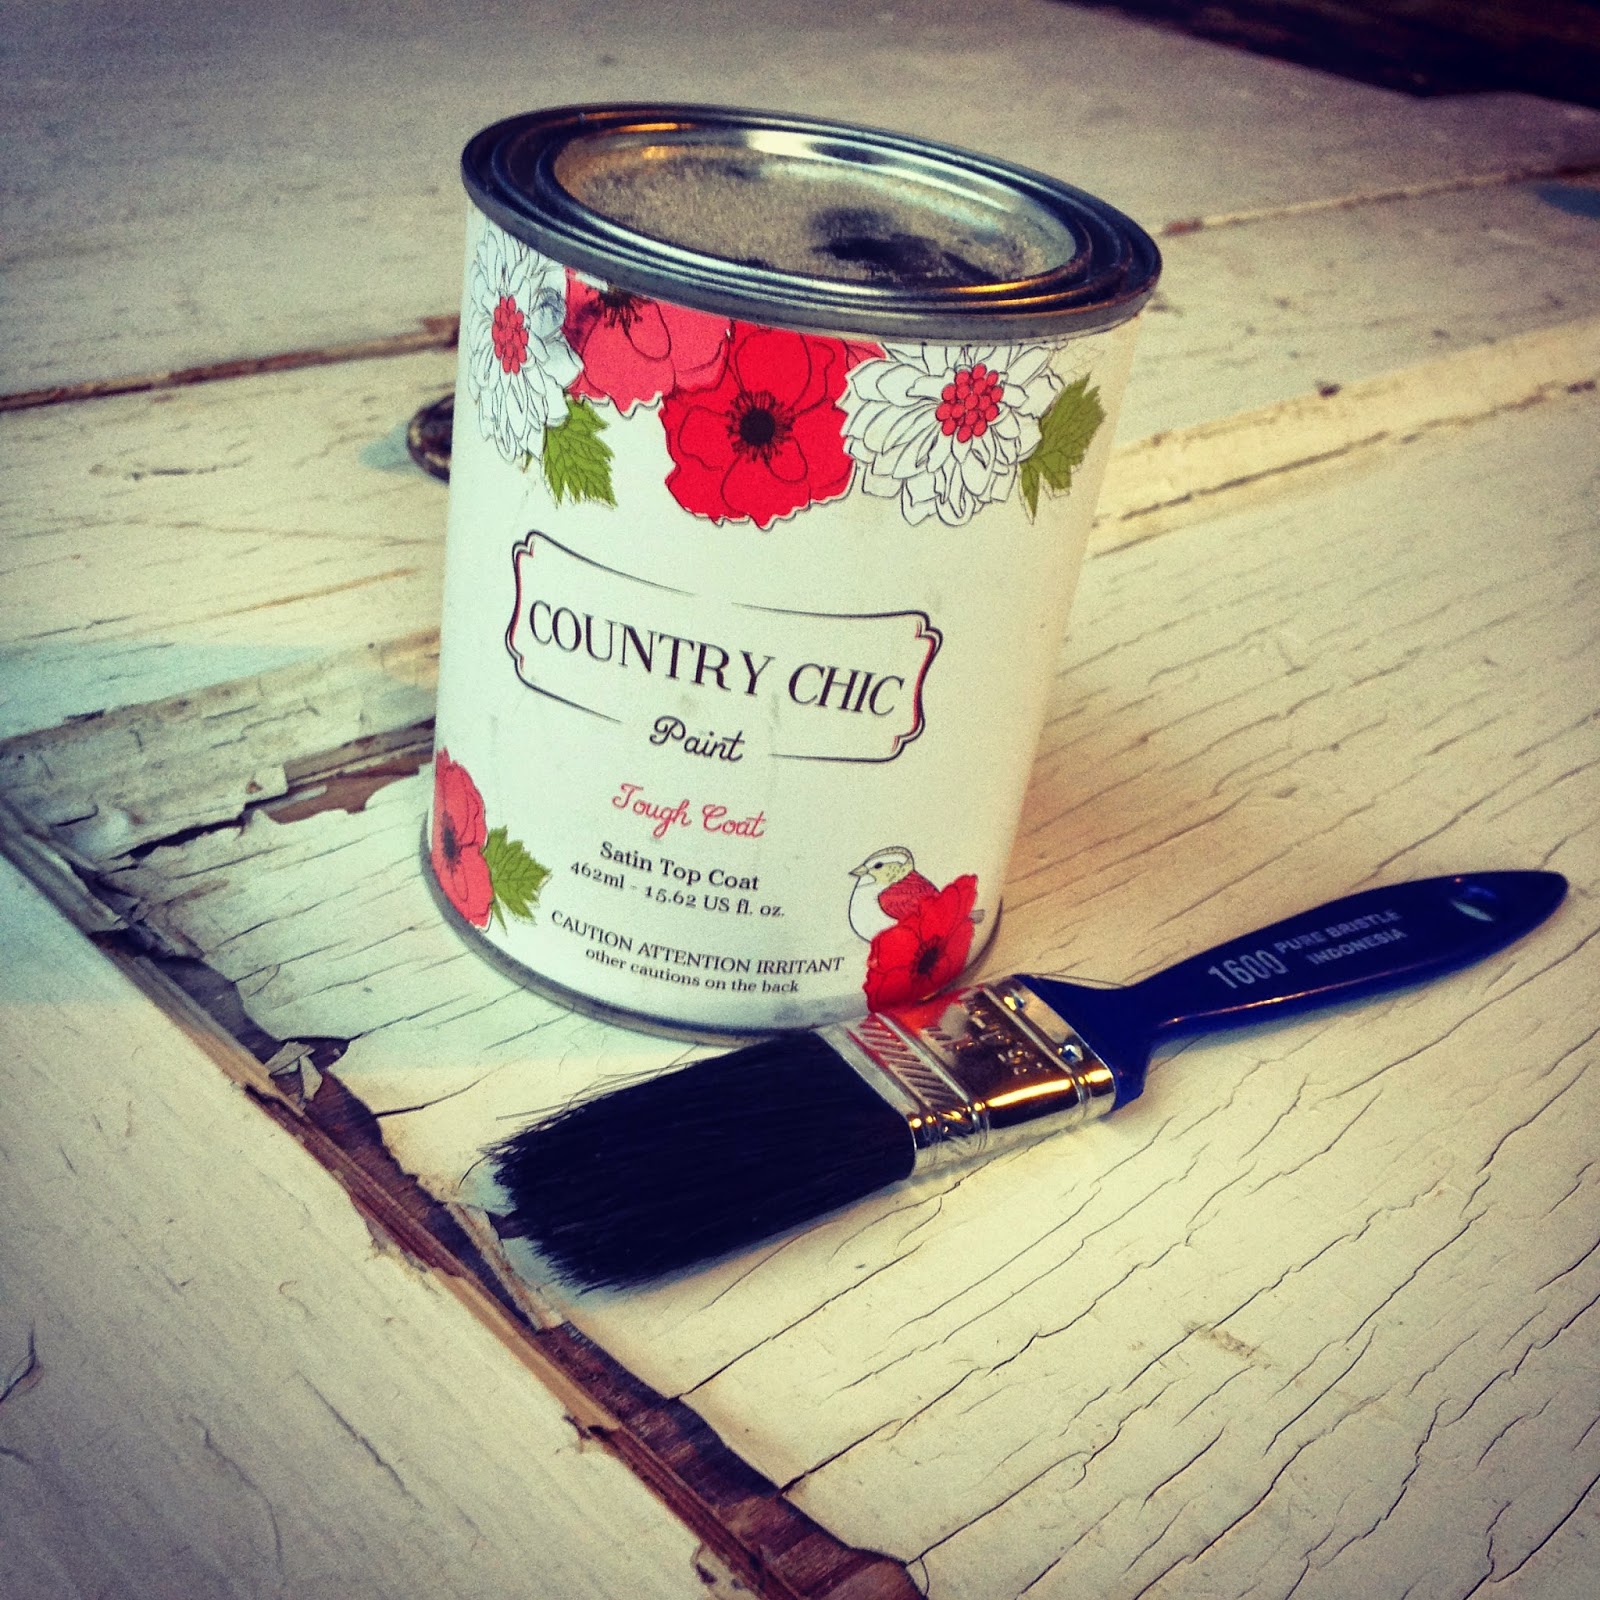
Well, except that it is more than likely painted in lead paint and tends to spread bits of chippiness wherever it goes.  Like little sprinkles of happy, only I really can't have Sara picking paint flakes out of her hair everyday, so I decided to use some Country Chic Paint Tough Coat on it.  It was the perfect product to lock in some of that chippyness without me having to worry about it yellowing down the road.


Travis used hinges to connect the two boards together.


Once the Tough Coat dried it was time to hang it!  We used super sturdy hanging hardware to insure that it would stay in place.  Nothing is worse than a headboard crashing down on you in the middle of the night.  And why is it that those things always happen in the middle of the night??  Like the object is being held in place with solar energy...


I'm so pleased with how this little mini-project turned out.  I think the door-turned-headboard adds some chippy charm to her room and really pops next to the black wall.  Throw in the added bonus of it being a no-cost project!

Next, I will build her a wooden valance to go high up over the window and cover it in the same black and white stripe material as her bedskirt.   Then I think I'm going to call the room finished, but we all know how that goes ;)