Showing posts with label Laundry Room. Show all posts

3.10.2015

Laundry room progress...

Our tiny laundry room was on our list of things to complete before we moved in last August.  You know what they say about the best laid plans, right?  We had bought all of the materials, but with Travis on his turnaround schedule it just never happened.

This is week six of the USW strike, so in between picking up side jobs we decided to finish up the laundry room project.  Here is where the room started...

Pretty sure this was in a horror movie I once saw...

Not gonna lie- I didn't even walk all the way into this room when we first looked at the town house.  It was that gross.  The cinderblock wall is the firewall between the units, and although I liked the pattern of it I knew we would cover it up as part of the renovation.  There also used to be a door on the laundry room, something I wanted gone since I walk in and out of that room so many times a day!

Every home we have ever lived in and painted has this painted onto the wall first... #traditions

primed and ready to paint...


this is the tiny door under the dog's bed area that Travis built to access the dryer hook-up...


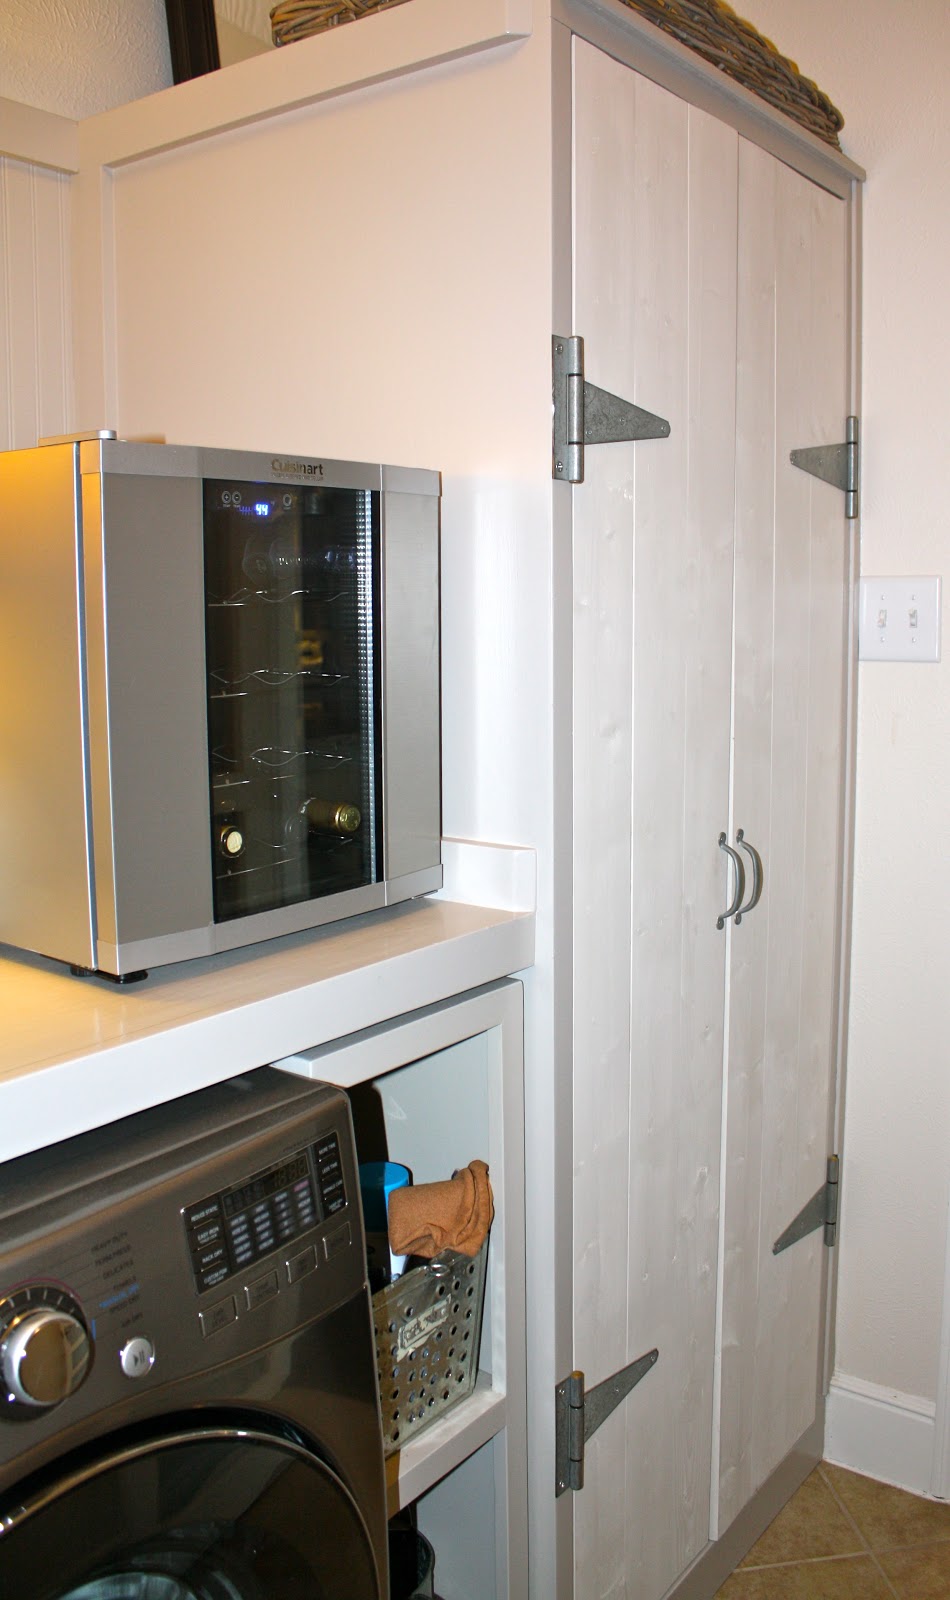
All painted up and ready for doors on the utility cabinet...

Lights up...

Utility cabinet organized...

The back of the washer/sink area will get subway tiles all the way to the ceiling...

I knew I wanted to skirt the sink, but I wasn't sure what material to use.  Buffalo check won out on IG...


This morning I gave Jack and Violet baths in the new sink.  It's deep and perfect for doggy bathing, but we really need to get that backsplash up!


Travis is going to build the utility cabinet doors today, and then all that is left is to put up the tile.  I'm so happy with how organized, light and bright this laundry space is.  A few people have asked why our washer and dryer were split up, and the answer is that orignially this room was outside the back door of the town home and the original owner closed it in.  What they didn't do was figure a way to  re-route the dryer vent so when we purchased the house it vented INTO the house instead of outside.  In order to properly vent the dryer it had to be moved to the other side of the room.  So that is why they are split up, which I'm kind of liking.  Having the sink right next to the washer makes more sense to me anyways ;)

2.16.2015

Laundry room progress...

Since Travis has this chunk of time off due to the strike we decided to go ahead and finish out the laundry room.   This is a budget friendly redo and we didn't end up using some of the materials we had originally wanted.  The sink we were searching for never materialized, so we are going with a standard plastic utility sink, but we will frame it out and skirt it and I'm sure it will turn out just fine.

this was the sink we ordered from rejuvination.com but it was just too shallow.  They have the most amazing customer service though, and took it back with no hassle!


We started out with some planked wood...


The original walls were cinderblock.  This is the fire wall between the town homes, it has a subway-ish look to it, but I wanted something a little cleaner looking.  We decided to plank this wall along with the ceiling...


This is the ceiling planked.  There will be three small light fixtures in this room- one over the dryer and two over the washer/sink area.


Travis used 2x3's studs to create a base for the planks to attach to.


The planks are up, but a trim piece will be needed at the top to hide the not so straight wall.  Older home walls, heck even newer home walls, are just never straight!


Yesterday he worked on the dryer side of the room.  To the left will be the utility closet, similar to the one we built in our last laundry room...


To the right of the cabinet is the dryer.  We had to split up the washer and dryer because orignially the dryer was vented into the house.  Yes, INTO the house.  The only way to correctly run the vent to the outside was up and onto the flat roof over the garage.  This meant moving the dryer to the opposite wall.


I ended up selecting some lights from Barn Light Electric.  I've got several of their lights and they are my go to for style, function and price point.  At $30 a light this was a good choice...


The walls and cabinet will be painted out in SW White Duck with SW Iron Ore on the table tops over the washer and dryer.  Originally we were going to have the large slab of soapstone cut for this space, but given the strike and not wanting to spend extra money, we are just going to go with wood.  This can be changed later if we want to.  

So there you have it.  This little laundry room will always be known as the room the strike of 2015 built ;)

3.22.2013

Laundry room revisited...

One of the first rooms we changed when we moved in was the laundry room.  The builder had installed a headbanger (overhead cabinet) and a rod.  That's it.  My desire to do laundry in that room was about as high as my desire to go camping.  (Unless of course it is Glamping, because I am all over that idea!)

Anyway, here is what the room looked like when we moved in:


 Here is the cabinet that started the whole renovation plan:


 I loved everything about this cabinet, but the size and the price were way too big!

So my handy-hubby built his own....


The cabinet itself is basically a box using 3/4 inch plywood.
He added the peg board so that we could hang our cleaning supplies.

Here are a few steps that Travis took to build the cabinet doors:

1.  He used 1 x 4 inexpensive knotty pine boards.
2.  Then he attached the boards together using dowel pins and wood glue, with a 1x4 brace on the back to support the hinges.
3.  Then he attached the hinges and hung the doors.


 And here some pictures of how the room looks today...


Rug is from Dash & Albert 


One of my must have items was a spot for Jack's things.  Spoiled weenies rock!

Sign by the talented Melaine of My Sweet Savannah


I love the galvanized gate hardware.


The burlap tags for the bins were made by my talented cousin at Sweet Tea & Linen on Etsy.


Large pins are from Ballard Designs.

My grandmother's iron- one of my treasured possessions. 
This is Travis' signature style on anything he builds.  When he first began dabbling in woodworking I told him I liked a "chunky, clean lined, boxy, Pottery Barn style" type of feel.  This laundry room now works beautifully with the design of our kitchen:


Paint colours:  Sharkey Grey by Martha Stewart & Sail Cloth by Ralph Lauren
Lighting: Lamps Plus

Feel free to ask any questions in the comments section and I will be happy to answer them!

Now I gotta go fold some towels...does anyone else walk by and hit the power button to fluff them instead of just folding the darn things already??  Yeah, I do that too ;)


Furniture Feature Fridays