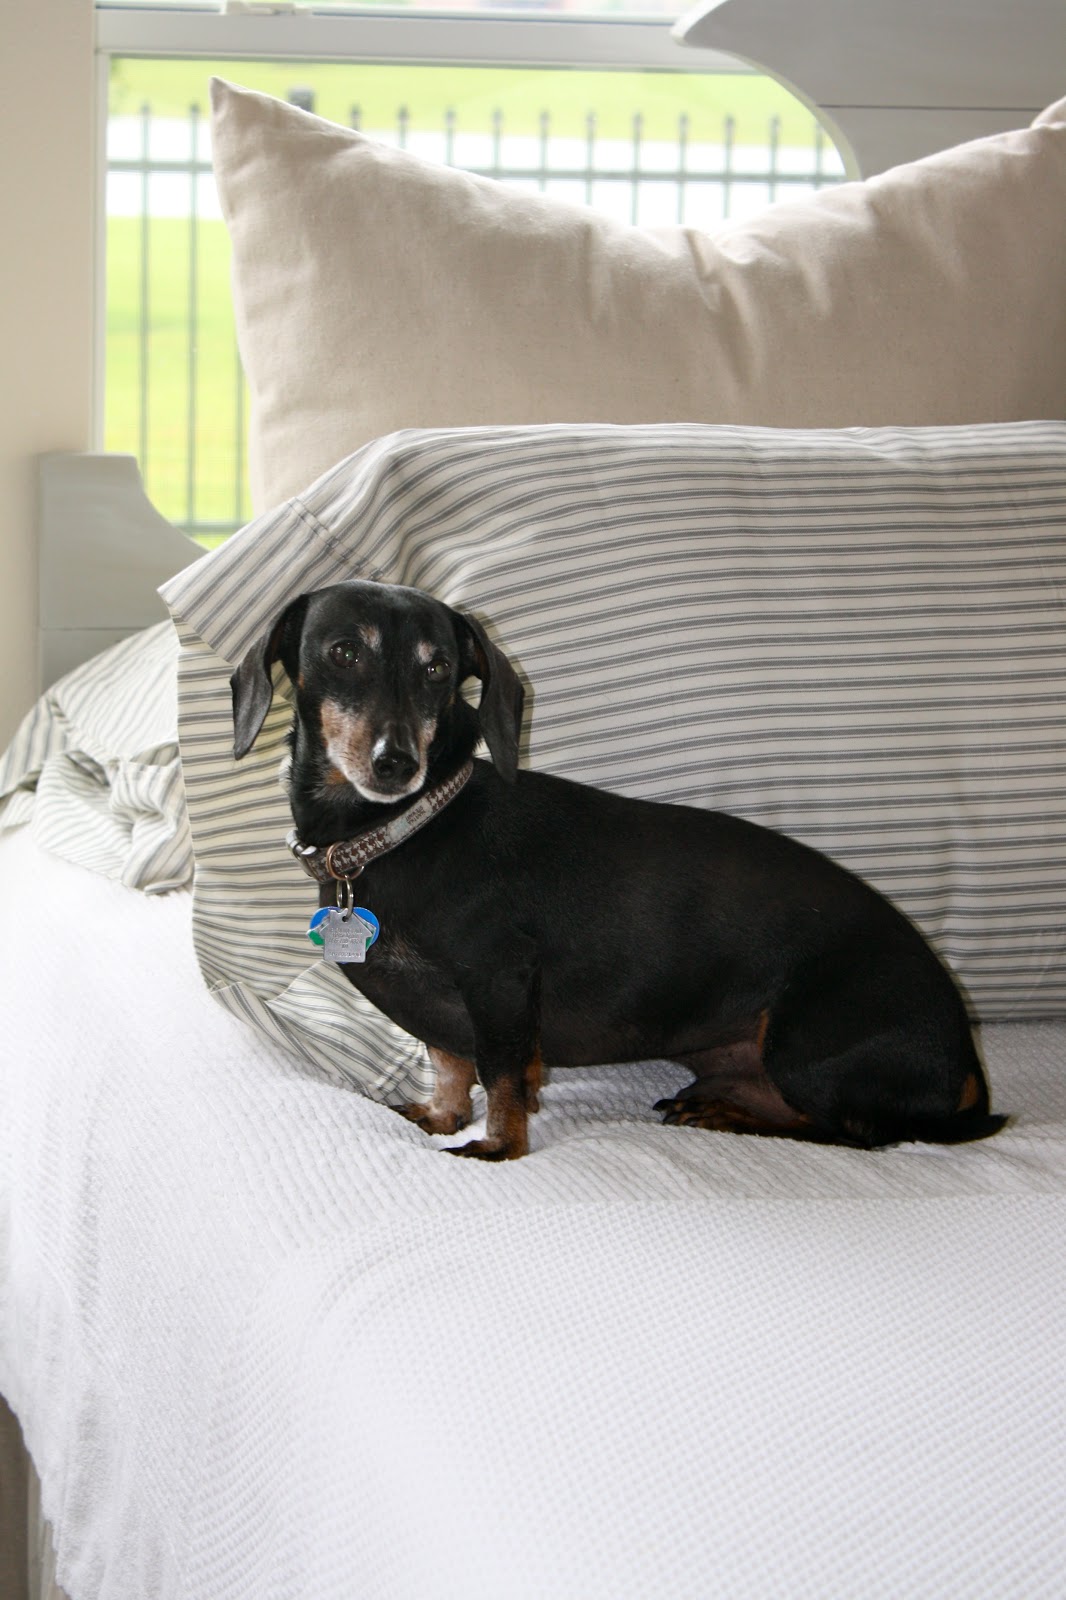
It's amazing the difference in your day when it begins with the simple act of making the bed. Back in my college days I would be late to class, because I needed to make the bed before I left my 3 x 6 room. Priorities, people. Also, small living at it's finest. If the bed was messy the entire room was messy, because the entire room was the bed. Also, OCD.
I love our bed. Travis built the headboard, and the bed itself is a sleep number bed. Pricey, I know, but sleep is not something we take lightly around here. With Travis' three back surgeries and my neck surgery comfort in sleep has no price tag. Well, it does, but it's not cheap.
Our headboard is a knock-off of a Ballard Design headboard. The how-to's on building your own are here. Someone pinned it on Pinterest not too long ago and pointed out that because of our pillows were blocking most of it that the top looked like Yoda's head. I bust out laughing because it TOTALLY looked like the top of Yoda's head! Guess who raised their headboard up a foot that very day? Yeah. OCD.


So today I thought I would show you a bit of a breakdown on how I make this bed of ours.
I begin with what I affectionately refer to as the "base pillows". Because this is very architecture like...

Realize that to avoid Yoda head I had to really raise that headboard up, so there is a noticeable gap between the bed and the headboard. But don't worry, there are pillows, oh so many pillows...
The next layer of construction involves my body pillow and our two "fluffy" pillows. One for my side and one to support Travis' back. We take geriatric pillow usage to a whole new level. That AARP has not contacted me about an interview on our pillow strategies is amazing. I'm sure I am on their list...

The upside to our fluffy pillows are these lovely vintage pillow cases. I adore the delicate trim and how the material just cascades over the side of the bed...

Next up, the Euro shams. The covers for these were made by the lovely and talented, Jill, of Sew a Fine Seam. She does incredible work and I HIGHLY recommend using her for all of your lovely sewing needs :)

Then comes the two king size pillows. The cases are from Target- the Threshold brand and are just the most lovely grey/blue ticking stripe. I had them monogramed in black thread on the edges of the cases. TGT is a reoccurring thing around here...

Lastly, for the pillows is the bolster pillow from PB...

If you have been counting as we go, that makes a total of TWELVE pillows on our bed. I know, we live like kings. Kings who obviously think that piling twelve pillows on a bed each morning is totally normal. Because it is, and OCD...
The very last item to add to this ensemble is the duvet at the foot of the bed. I am the only one who sleeps with it, folded over twice, because according to Travis I like to sleep under the weight of a small car. Apparently.

So there you have it. The nitty gritty on how this bed is constructed each morning. It's not simple, but I do love the mornings where Travis and I start out by making the bed together. It's like a dance of sorts, we both know our parts and the bed comes together seamlessly as we talk about the upcoming day. No one could convince me that this is not the perfect way to start the day. Well, the addition of morning chocolates by the bed wouldn't hurt. Because there is totally such a thing as morning chocolates...
Happy Fluffing!

I love our bed. Travis built the headboard, and the bed itself is a sleep number bed. Pricey, I know, but sleep is not something we take lightly around here. With Travis' three back surgeries and my neck surgery comfort in sleep has no price tag. Well, it does, but it's not cheap.
Our headboard is a knock-off of a Ballard Design headboard. The how-to's on building your own are here. Someone pinned it on Pinterest not too long ago and pointed out that because of our pillows were blocking most of it that the top looked like Yoda's head. I bust out laughing because it TOTALLY looked like the top of Yoda's head! Guess who raised their headboard up a foot that very day? Yeah. OCD.
So today I thought I would show you a bit of a breakdown on how I make this bed of ours.
I begin with what I affectionately refer to as the "base pillows". Because this is very architecture like...
Realize that to avoid Yoda head I had to really raise that headboard up, so there is a noticeable gap between the bed and the headboard. But don't worry, there are pillows, oh so many pillows...
The next layer of construction involves my body pillow and our two "fluffy" pillows. One for my side and one to support Travis' back. We take geriatric pillow usage to a whole new level. That AARP has not contacted me about an interview on our pillow strategies is amazing. I'm sure I am on their list...
The upside to our fluffy pillows are these lovely vintage pillow cases. I adore the delicate trim and how the material just cascades over the side of the bed...
Next up, the Euro shams. The covers for these were made by the lovely and talented, Jill, of Sew a Fine Seam. She does incredible work and I HIGHLY recommend using her for all of your lovely sewing needs :)
Then comes the two king size pillows. The cases are from Target- the Threshold brand and are just the most lovely grey/blue ticking stripe. I had them monogramed in black thread on the edges of the cases. TGT is a reoccurring thing around here...
Lastly, for the pillows is the bolster pillow from PB...
If you have been counting as we go, that makes a total of TWELVE pillows on our bed. I know, we live like kings. Kings who obviously think that piling twelve pillows on a bed each morning is totally normal. Because it is, and OCD...
The very last item to add to this ensemble is the duvet at the foot of the bed. I am the only one who sleeps with it, folded over twice, because according to Travis I like to sleep under the weight of a small car. Apparently.
So there you have it. The nitty gritty on how this bed is constructed each morning. It's not simple, but I do love the mornings where Travis and I start out by making the bed together. It's like a dance of sorts, we both know our parts and the bed comes together seamlessly as we talk about the upcoming day. No one could convince me that this is not the perfect way to start the day. Well, the addition of morning chocolates by the bed wouldn't hurt. Because there is totally such a thing as morning chocolates...
Happy Fluffing!